For each custom field, you can specify the exact location within the form that the field is to be displayed relative to other fields and subtabs on the page.
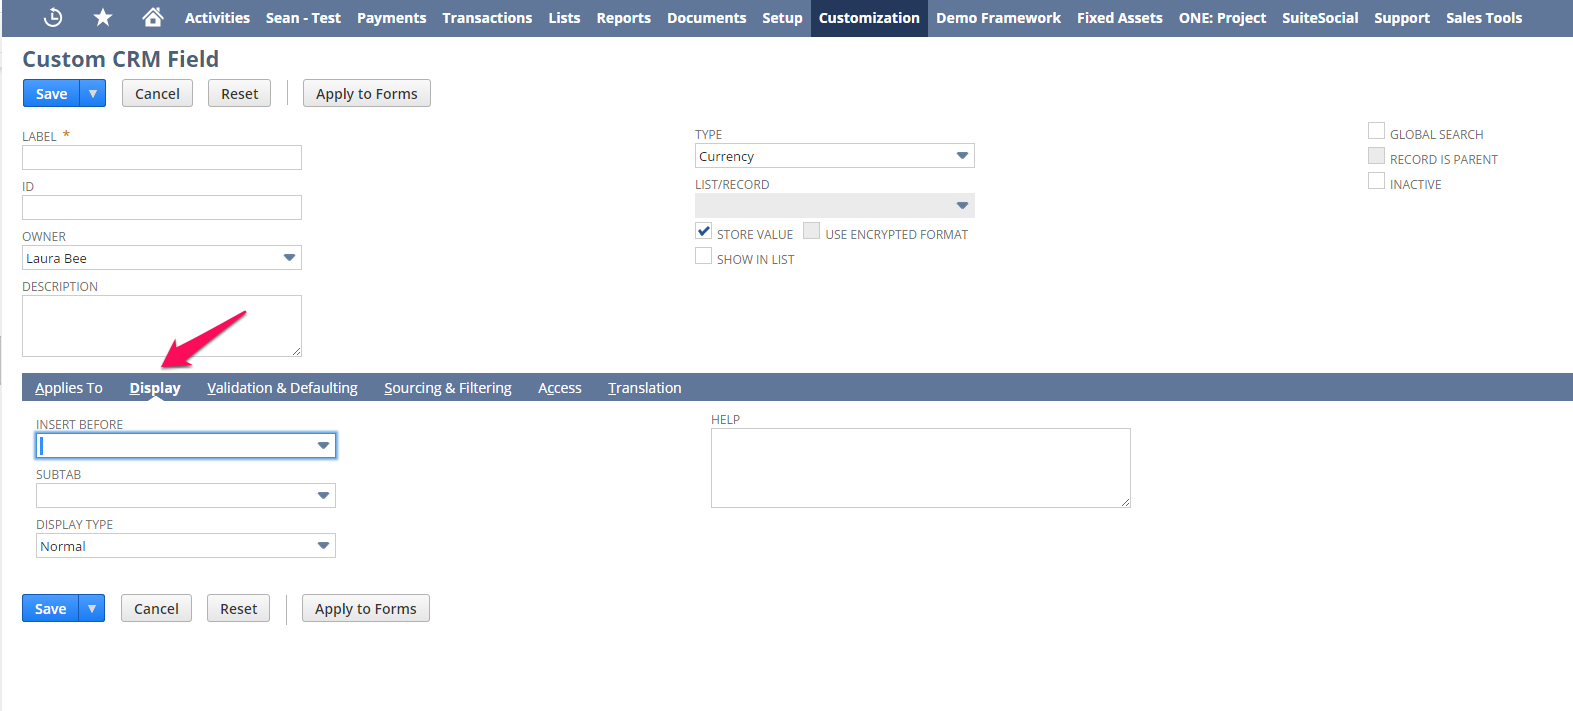
1. Click the Display subtab.
2. The fields on this subtab depend on the kind of field you are modifying.
3. In the Insert Before field, select where to place your new field on records.
4. This field lists custom fields of the same type that have already been created.
Note: This only affects the placement of fields on standard forms and on the placement of newly created fields. To change the arrangement of fields on a customs form, you must edit the custom form.
5. You can also choose to have the custom field span the column at the top or bottom respectively (‘Outside columns at the top’ / ‘Outside columns at the bottom). This is especially useful to add a text area field at the top or bottom of a tab or section which provides explanatory information.
6. In the Subtab field, select the subtab you want this field to display. For example, select Main if you want this field to display in the top portion of the record.
Important
If a subtab is NOT selected, the field is automatically displayed on a custom subtab for the record. Select a subtab that makes sense for the type of information the custom field stores.
7. Select the Display Type. This allows you to specify how your custom fields behave in NetSuite. These are the available display types:
- Normal: A normal field can be edited. You can use this field with custom code calculations, defaulting, and sourcing information. For example, you create a custom field on employee records for a spending limit. The Spending Limit field has a display type of normal because you want to edit and store the information entered in this field.
- Disabled: A disabled field cannot be edited. You can use this field with custom code calculations, defaulting, and sourcing information only. Any field with a display type of disabled that does not have default sourced or custom code information will not display on forms. For example, you create a custom field on expense reports for a spending limit. The field has a display type of disabled because you want the information in this field to be updated but not edited.
- Inline Text: An inline text field is for informational purposes only. The information in this field is the result of custom code calculation, defaulting, or sourcing information only. Inline text fields of the List/Record or Check Box type are not available for use with custom code. These fields are also not available for transaction column fields. For example, you create a Tax ID custom field for your purchase orders. The field has a display type of inline text because your tax ID is for informational purposes only, and you do not want the information stored with each transaction.
- Hidden: A hidden field cannot be seen on the record or transaction you apply it to. You can perform a search to display the value of this field. The information in this field is the result of custom code calculations and defaulting information. For example, you can use a hidden field to store your support rep’s case quota. The support reps do not see the field but the information can still be searched and reported on.
8. If applicable, enter field height and width properties.
9. If applicable, in the Link Text field, enter text to display instead of a URL for hyperlink fields. Users see this text instead of the URL on records and transactions.
10. In the Help field, enter a brief description of the kind of information you want to be entered in this field. This help is available when the name of the field is clicked.
11. Once you have set the display properties, you should define any validation and defaulting properties.