First SC Google Tag manager bundle need to be installed
Then we need to Link Google’s client ID with NetSuite
As a next step, go to SuiteCommerce Advanced section.
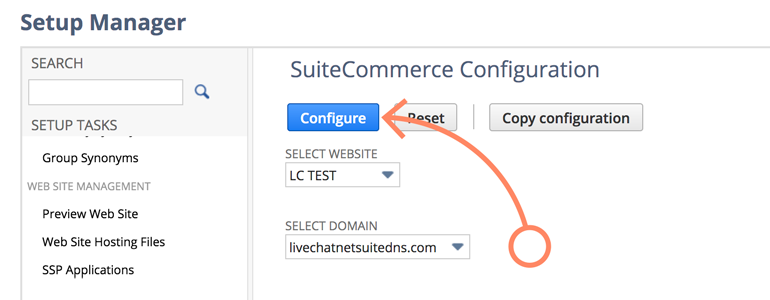
Choose which of your NetSuite website and domain would you like to link with Google Tag Manager. Once you’ve done that, click on the Configure button.
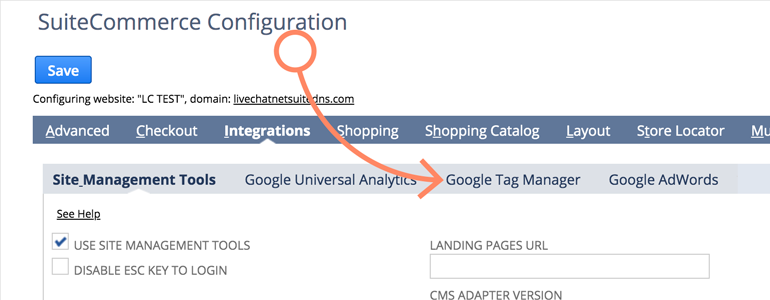
On the next screen, proceed to Integrations → Google Tag Manager.
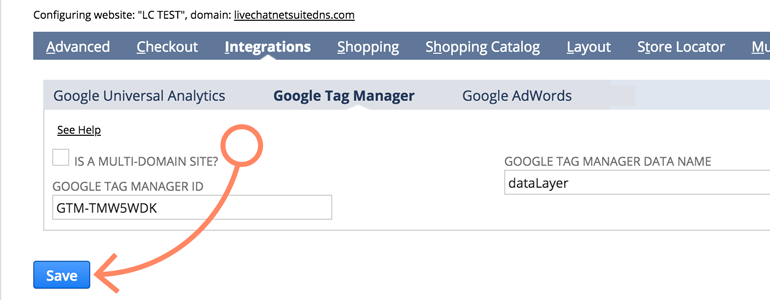
As a final step, provide the ID of your Google Tag Manager and click on Save button.
Now that the Google Tag Manager is linked with your NetSuite, there is one final step: adding LiveChat to your SuiteCommerce website
NetSuite LiveChat: Add LiveChat to your SuiteCommerce
- For the last time during the configuration, let’s proceed to the Setup section of your NetSuite dashboard.
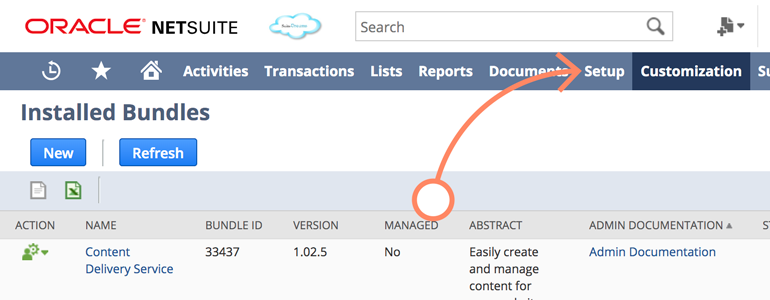
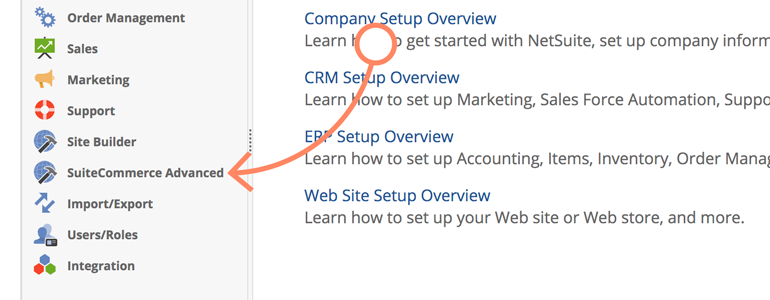
- While there, proceed to the SuiteCommerce Advanced section.
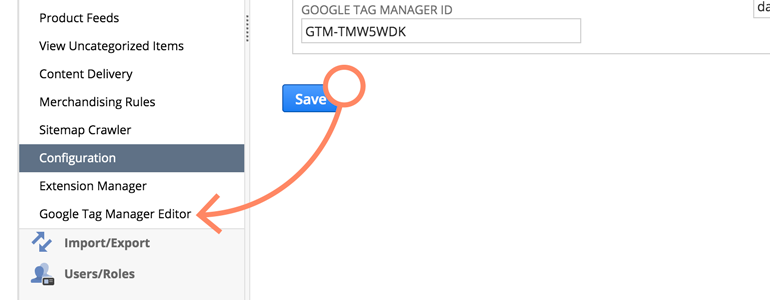
- From the list of available options, choose Google Tag Manager Editor.
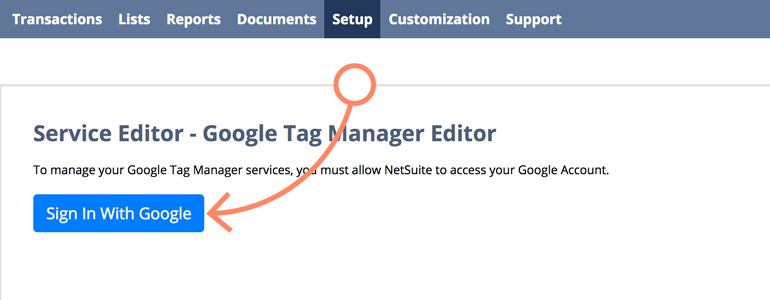
- Google Tag Manager Editor will greet you with the Sign In with Google button. Click on it to proceed.
- Now that you’re signed in, choose your Google Tag Manager account and click on the container that you want to edit.
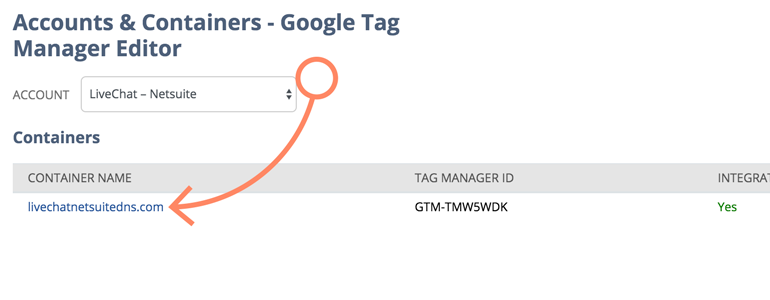
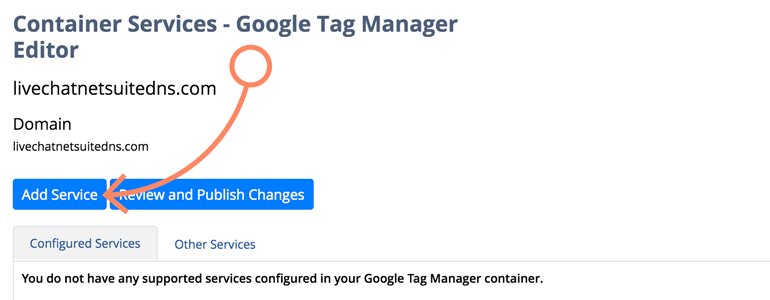
- To proceed, click on Add Service button.
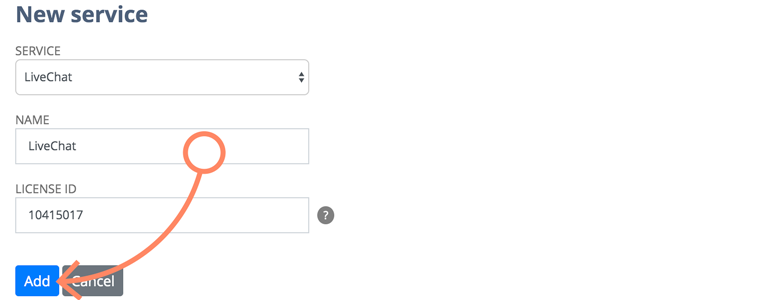
- Now, from the list of available services choose LiveChat, name your service and provide your LiveChat license number.After doing all that, click on Add button to proceed.
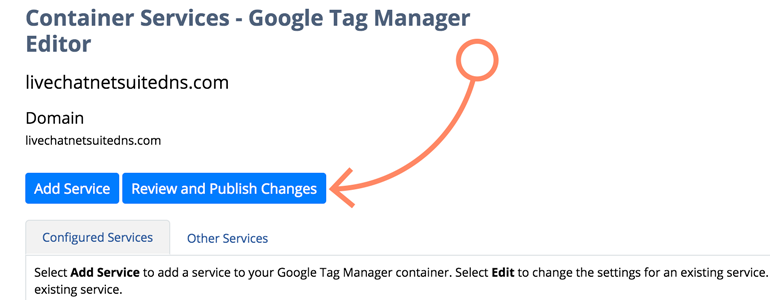
- It is time to Review and Publish Changes – clicking on that button will redirect you to your Google Tag Manager dashboard.
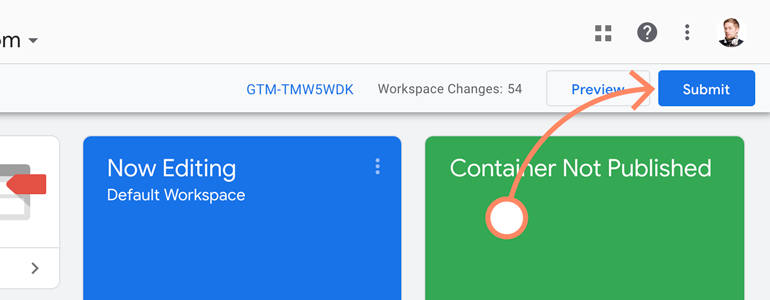
- While in your Google Tag Manager, click on Submit button, available at the top right section of your dashboard.
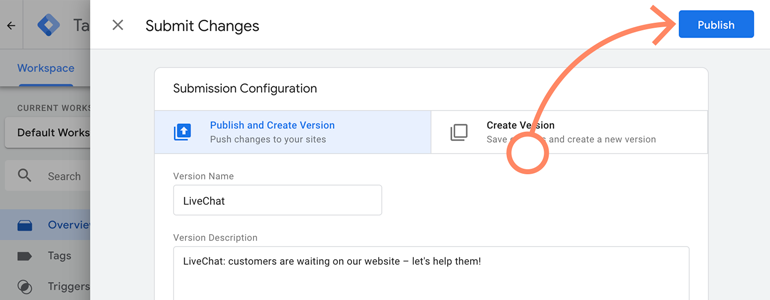
- Google will ask you to name the change that you are about to submit and briefly describe what this change is all about. Once you’ve done that, click on Publish to continue.
