The first thing you’ll need to do for this type of import is to install Notepad ++. Many people have heard of Notepad, as it is the standard text editor on many PC computers. Unfortunately, Notepad doesn’t support these different languages. Let’s get into the steps:
- Open the .xls or .xlsx file containing the special language characters.
- It’s important that you don’t open this file in Excel as a .CSV because that changes how the computer “sees” these characters. It will cause errors further down the process.
- Select Save As for this file and Save as Type Unicode Text (*.txt)

Saving the .xls file as Unicode Text.
- Next, you will want to open up Notepad ++
- Select File > Open and find your recently saved Unicode Text file
- We now want to change the “tab” deliminated data to comma delimitated data
- Highlight a space and “copy” the highlighted portion as shown below. (In the image below the highlighted space is gray and not the blue line)

- Select Ctrl + H
- “Paste” the space into the Find What field
- Enter a comma into the Replace With field
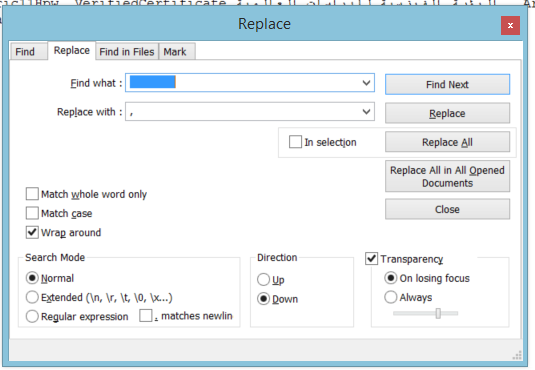
- Select the button Replace All
- You may now exit out of the box above and what previously showed as spaces in Notepad ++ should now be replaced with commas
- On the menu bar, where you see file, edit, view, there is a drop down for Encoding
- Click this drop down and select encode in UTF-8
- On the bottom of your Notepad ++ screen you should now see UTF-8 in the lower right corner

- You’re now ready to save this file as a CSV
- File > Save As
- Leaving the Save As Type as Normal text file (*.txt)
- Edit the file with the name you’d like, and make the addition of “.csv” to the end of the file name manually.
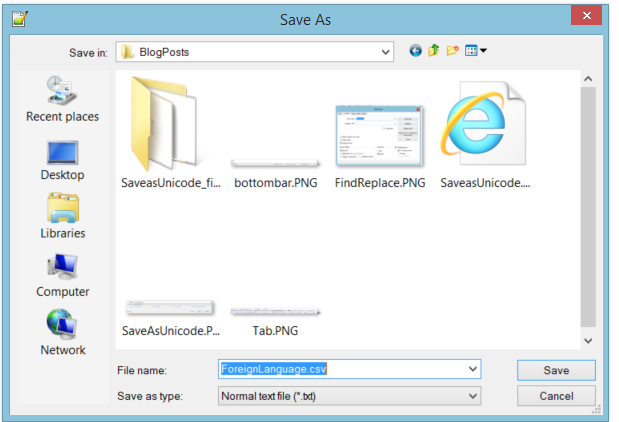
- Select Save
- BUT DO NOT OPEN THIS FILE IN EXCEL AFTER SAVING AS A CSV!
- This can alter the encoding and reverse the work you’ve done up to this point
- Next, we need to log into NetSuite and get to the Import Assistant screen
- Enter the necessary import information. Making sure to switch the character encoding to Unicode (UTF-8)
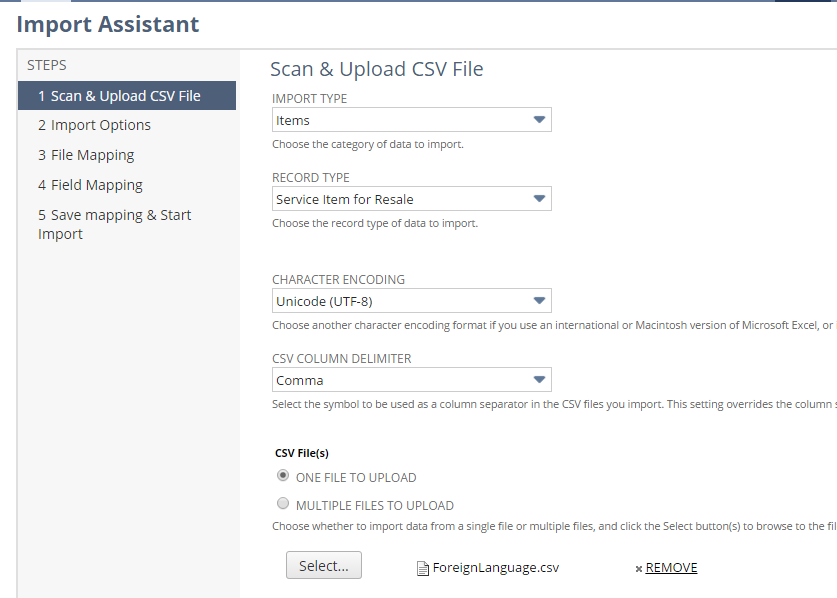
- Map the necessary fields for your import
- voilà
