When adding many values to a custom list, a CSV import can be more efficient than manually adding each value. To import custom lists, follow these steps:
- Go to Setup > Import/Export > Import CSV Records.
- Select Customization as the import type and Custom List as the record type.
- In the Import Options, choose ‘Update’ since you are updating an existing list with new values.
To import multiple values into the Custom List Values sublist for any custom list, your file must include multiple rows for that custom list. For example, if you want the custom list to have five options, you must create five rows in your CSV file. Each row should include one value to be mapped to the Custom List Values field of the sublist and any other necessary sublist data for that value, such as an abbreviation or a translation.
A sample import file is as follows: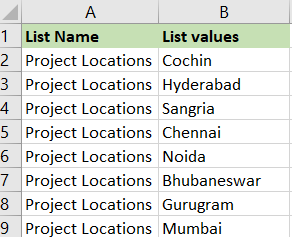
Column A: List Name – This is the name of the custom list created in your NetSuite account. This name must be repeated on every line.
Column B: Data for the Custom List Values sublist.
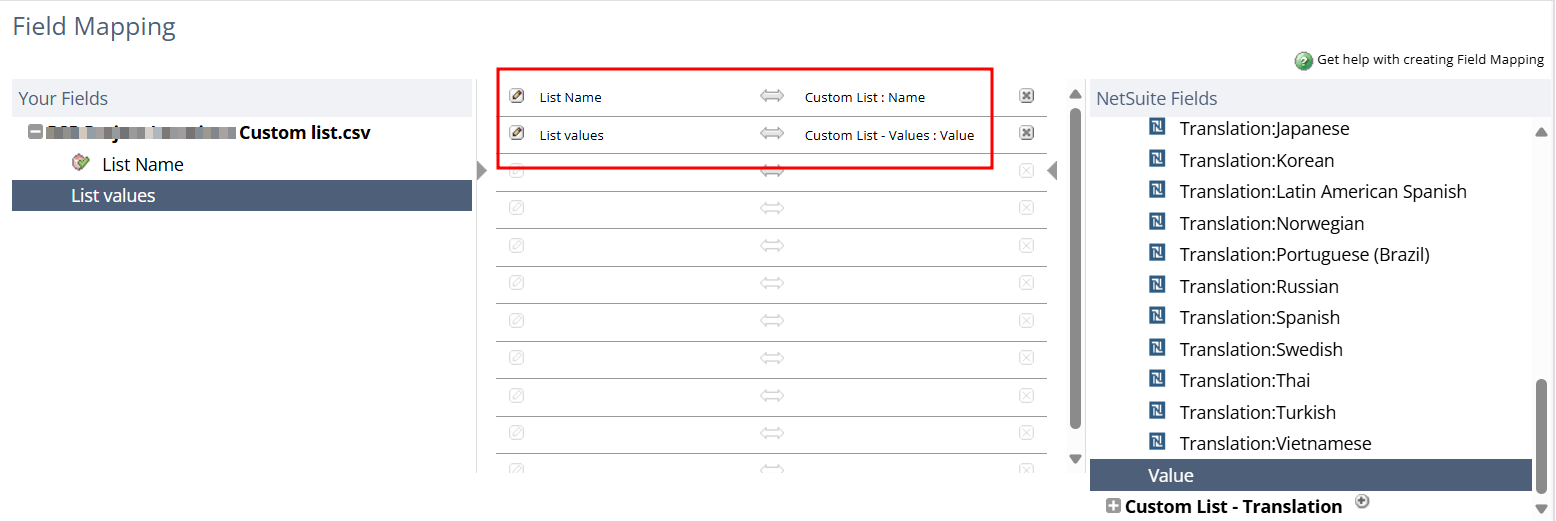
Refer to the below figure for field mapping during import: