It is used to create a solid or surface between two or more profiles. These profiles can be sketches, edges, or faces, and the Loft tool generates a smooth transition between them.
- We need to sketch the desired profiles
- To have a better understanding we will use the help of an example
- For that lets sketch Two circles of different radii on two different planes
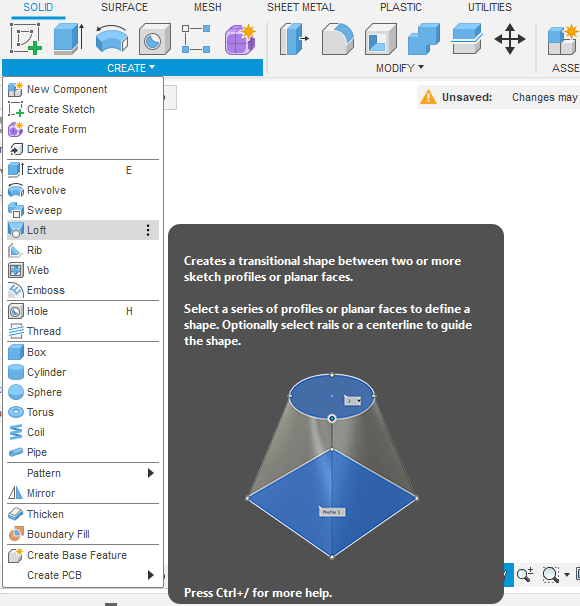
- Now select the loft tool from create

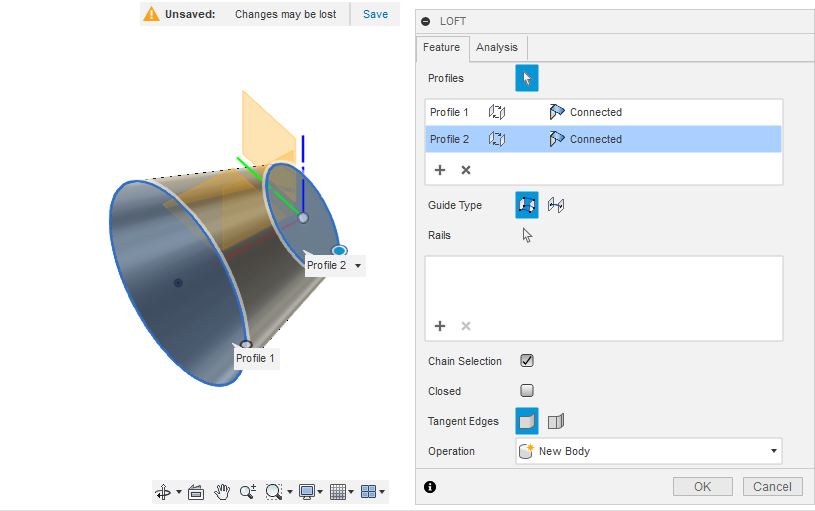
- Select the two circular profiles and click ok
- Now the two circles will join
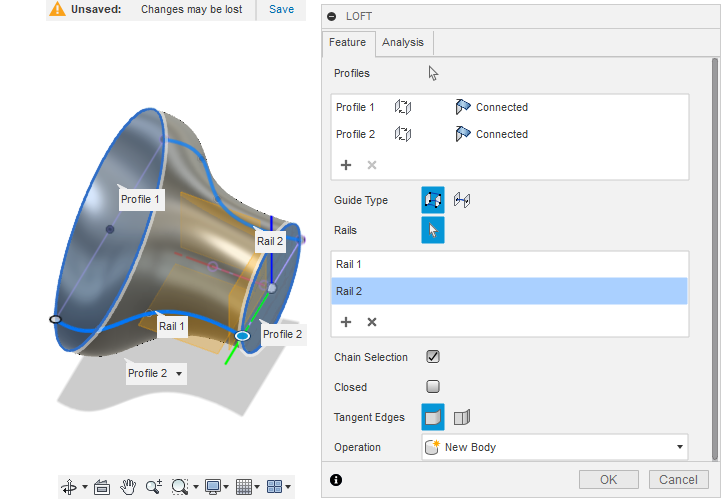
- We can add guide rails in between the two profiles so that the body made will be along the guide rail between the two profiles
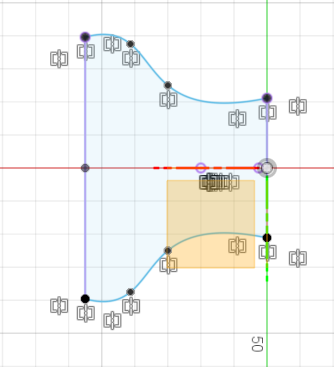
- Let’s sketch the rails
- Now select this new sketch as Rails after selecting the two profiles