Creating animations in Fusion 360 allows you to showcase your designs dynamically by simulating the assembly or disassembly of components, demonstrating how parts interact, or presenting the functionality of your product
- Let’s start by selecting the animation option from Design toolbar

- An interface like this will be opened
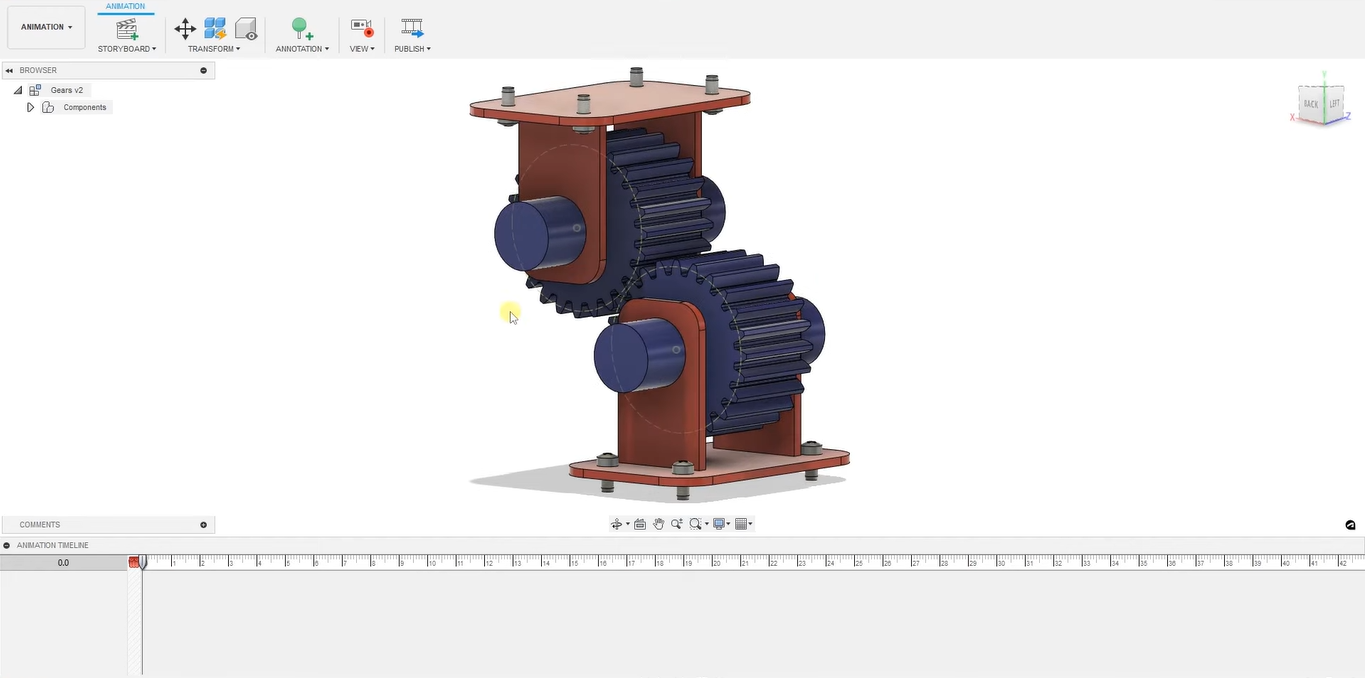
- Now when the View option is clicked it will start recording, the recording is marked by a red dot on the icon

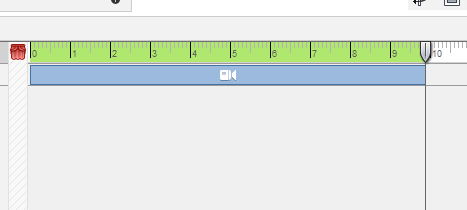
- The We rotate the object and set the set to 10 seconds by dragging the marker at the bottom
- Now we can replay it can see the recorded video
- If we want to change the camera angle, we can bring the marker to the time where it needs to be changed and rotate the object
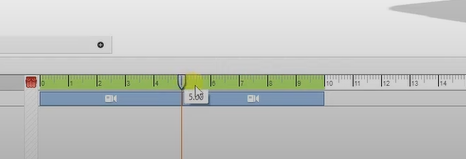
- Then two camera Icon will be formed below
- Now we need add motion to the objects
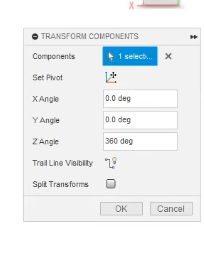
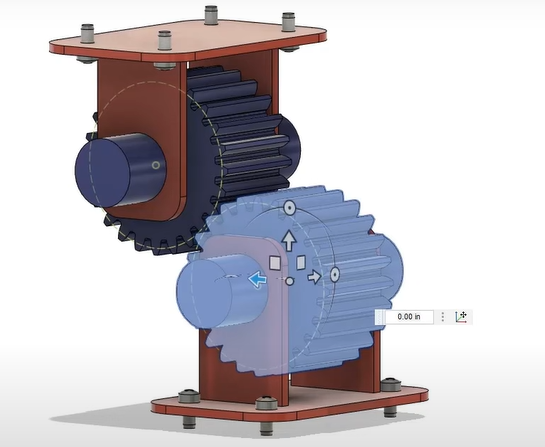
- For that lets select transform option
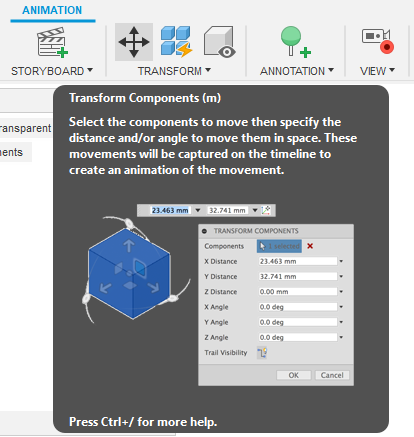
- Now select the part to which motion needs to be selected
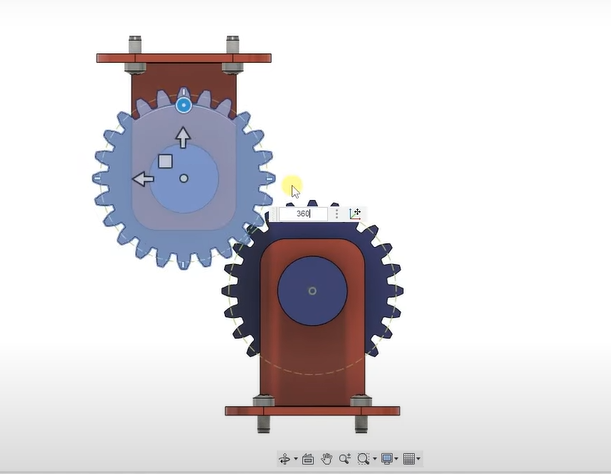
- Now select the degree it needs to be rotated, here we give 360
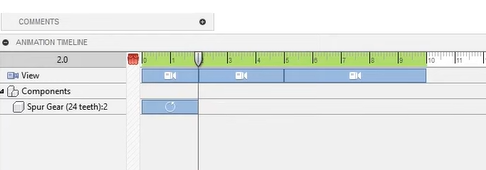
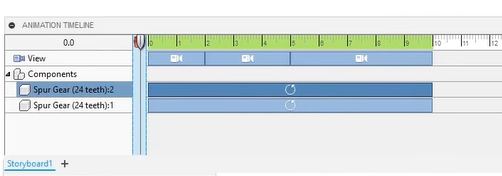
- Now we can see it is applied to only 2 seconds in the timeline, we can stretch it into 10 but then the rotation will be very slow
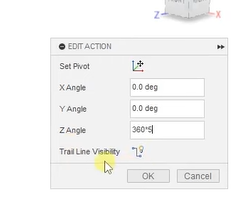
- To solve this right, click on the bar and select edit action

- Lets change the 360 degrees to 360*5 that is, 360 degree is 2 seconds then 360 times 5 will be 10 seconds
- Then the rotation will be proper
- Similarly, we can select the next part and give –360 times 5 degree so it rotates in the opposite direction
- Now we can give movement to the individual parts
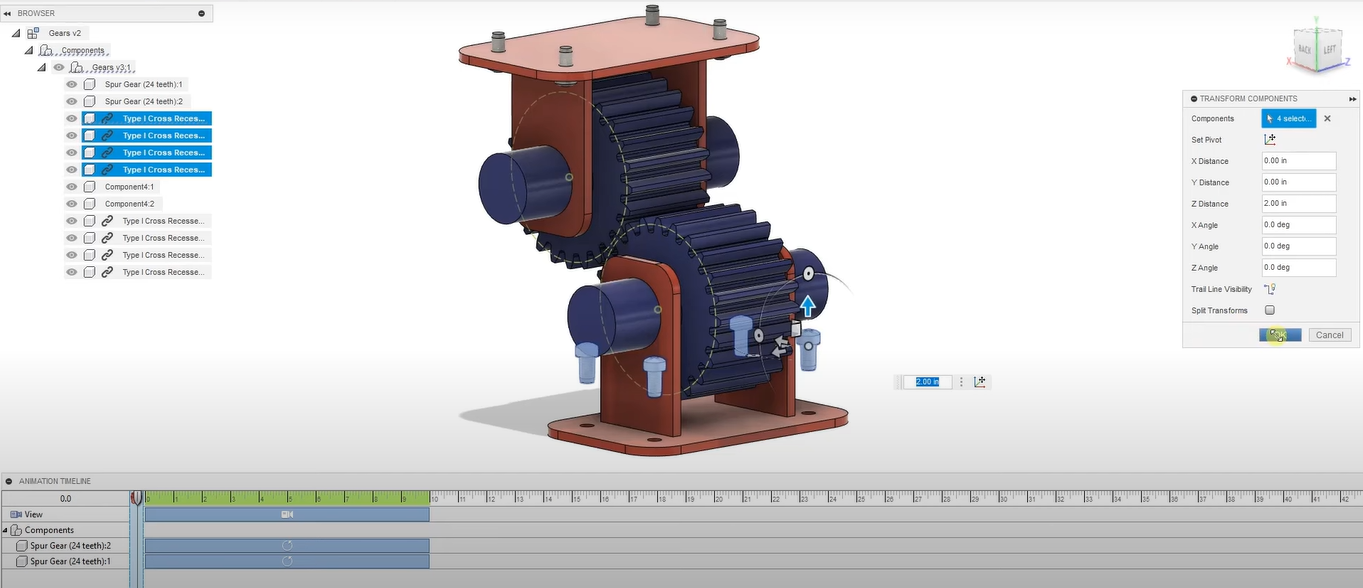
- For this start by selecting the individual components
- In this case we select the four screws at the bottom
- We drag the marker in the bottom timeline to the beginning
- Then we up them up to a certain position and click OK
- Now at the starting of the recording the screws will be in their new position
- Now we need to move the marker at the bottom timeline to a particular second at which we want the screws to fall back into place
- And then we pull the screws back and click OK
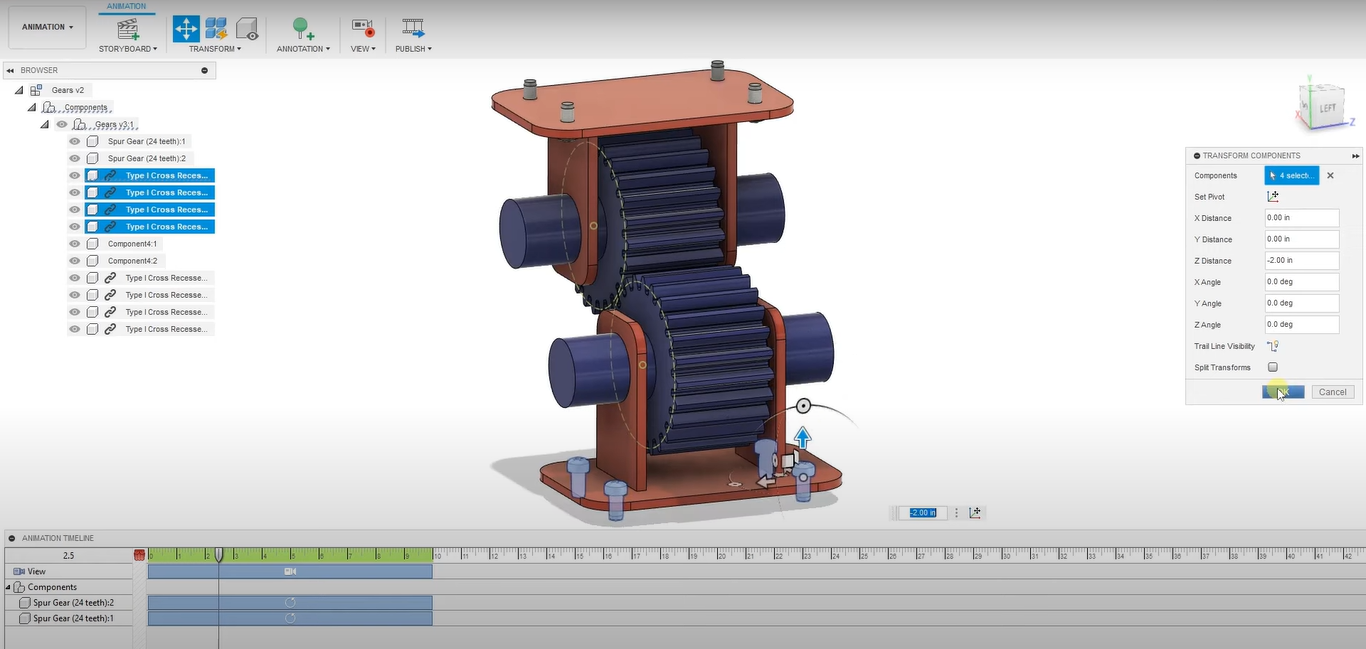
- Now we can see the duration of the screws in the bottom timeline
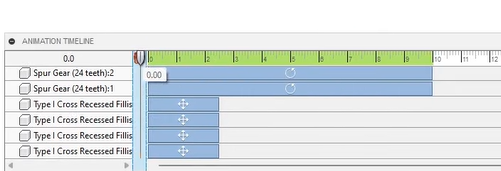
- At the start the screws will be above and will gradually fall into place in between the start and selected new time
- Now to save the video click on the publish icon
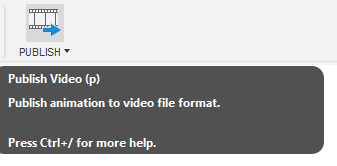
- When click on the publish icon an interface will open
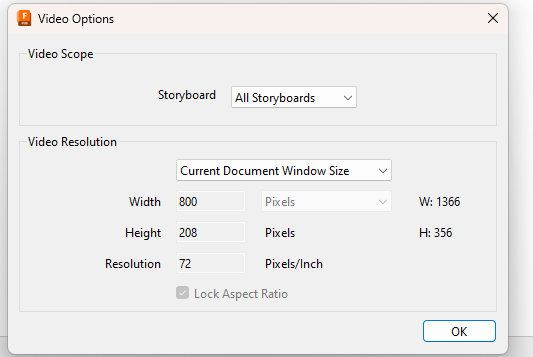
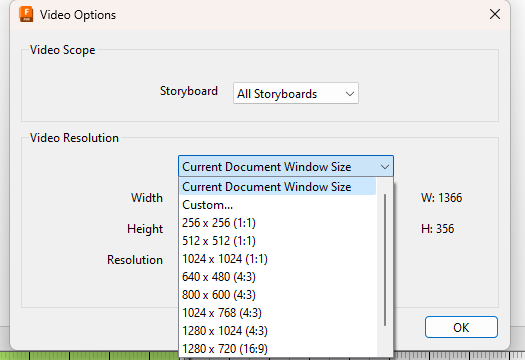
- We can change the size etc. depending upon personal preferences
- Now we can select the location where it needs to be saved
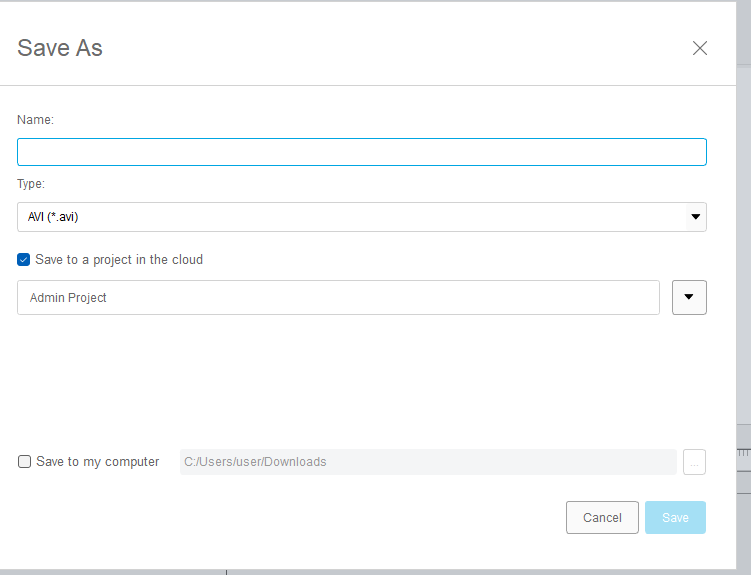
- After that click OK