Overview
Setup
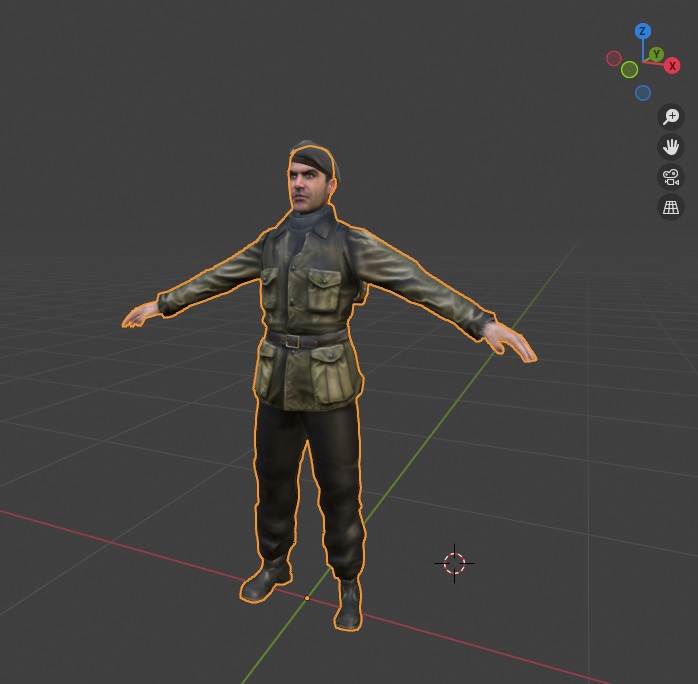
Setting up the model
- The character model must be in the center of the world (0,0,0) (as if he is… the master of the world!)
- It has to face the -Y global axis, it means the face and feet must point toward the front view (numpad 1). This orientation is a common standard when rigging 3D character.
- If it’s not the case, just turn the object by 90° steps until it faces the front view (R key, Z key, type 90 numpad keys).
- Initialize the mesh transforms for a clean start: Ctrl-A > Position, Ctrl-A > Rotation & Scale
Add the armature
- Press N key to enable the properties panel in the 3d view right area.
- Look for the ARP tab
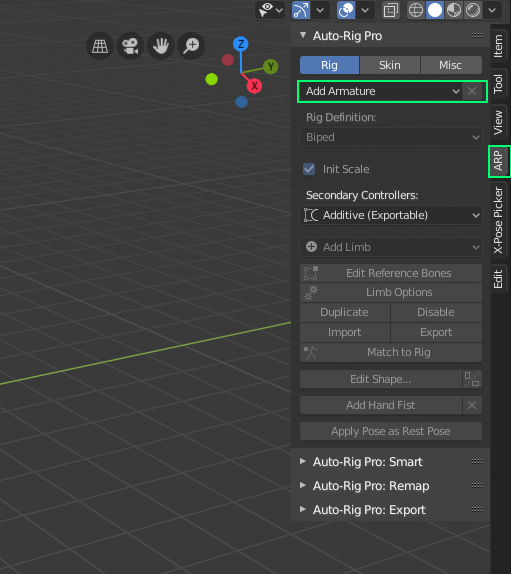
- Press the Add Armature button in the Rig tab.
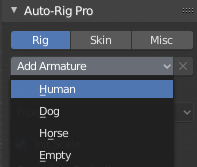
- Choose a rig preset.
- This part of the documentation covers the Human rig only, but the same principles apply to the other types (Dog, Horse…).
- The Empty preset is used to build a rig from scratch, it does not contain any limbs by default. Arms, legs, spine… can be added by clicking the Add Limbs button.
Important
The DO NOTs!
- Do not delete any objects or bones linked to the armature (even if they’re invisible, such as “cs_grp” and its children, “cam_ui”, “rig_add”, etc…).
- Do not rename Auto-Rig Pro bones
- Do not edit the default bones collections
… It would break the Auto-Rig Pro tools and generate earthquakes.
Smart
The Smart feature is useful to quickly place the reference bones within a few clicks -for humanoid only-.
It has been designed to cover several cases, however there are few guidelines to follow:
- The character can be in T-Pose or A-Pose. For the fingers detection, there must be enough spaces between fingers. The palm must face the floor, if the hand is too much twisted forward or backward, the fingers detection will fail.
- If the fingers of your character do not meet these requirements, you can choose Skip Fingers above the Go button (more instructions below). If the whole character it not a biped, skip this part and go straight to the next chapter to manually place the reference bones.
Limitations
Depending on the character proportions, manual corrections after the detection may be required. Also fingers may not detect properly if:
- There is not enough space between them
- They are too curled
- There are too many complicated shapes around the hand, such as big bracelets, props, for example.
- Too simple/low-poly model, or “weird” shapes
How to use
- Facial: if you wish to setup the facial markers (optional), first make sure the eyeballs are a separate object
- Show the ARP addon interface: press N key to enable the properties panel in the 3d view right area, look for the ARP tab, then Auto-Rig Pro: Smart menu.
- Select all of the body objects. Avoid selecting props, clothes objects if they’re not necessary to define the character body.
- Click Get Selected Objects in the Auto-rig Pro : Smart panel
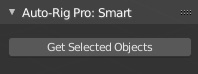
The camera will frame the character in front view.
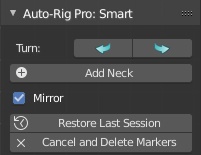
- If the character doesn’t face the camera, you can use the Turn buttons to rotate by 90° steps
Body
- If the character is not symmetrical, uncheck Mirror. If enabled, the left markers/bones are mirrored to the right (right from the character’s perspective, screen-left)
- Click the Add Neck button. A new circle shaped marker is added, move the mouse cursor to position it at the root of the neck.
- No need to rotate the view while doing this, keeping the front view will be fine. The solver will automatically find the depth
- Click the next button Add Chin, position it nearby the chin, and do the same for the other markers
Fingers
- Set the number of fingers of the character:

Fingers detection failure:
The fingers detection should run fine with most characters, however it may fail sometimes.
Try to move a little the wrist marker (you can click Recover Last Session to restore the previous markers positions).
Then reduce or increase the Voxel Precision value, and then try to increase or decrease the Finger Thickness.
If it still does not work, something unexpected in the hands design prevents the detection to work.
Feel free to send your character for inspection , if the issue can be fixed I’ll let you know, if not, then place the fingers manually
The markers can be restored, to try different positions, by clicking Restore Last Session after Get Selected Objects.
