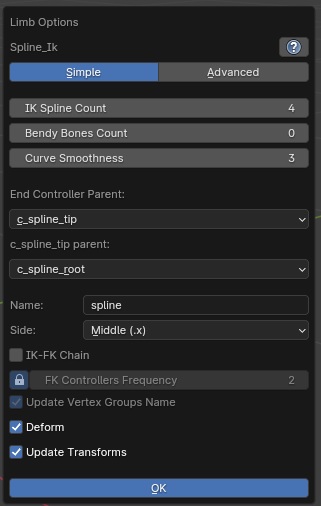
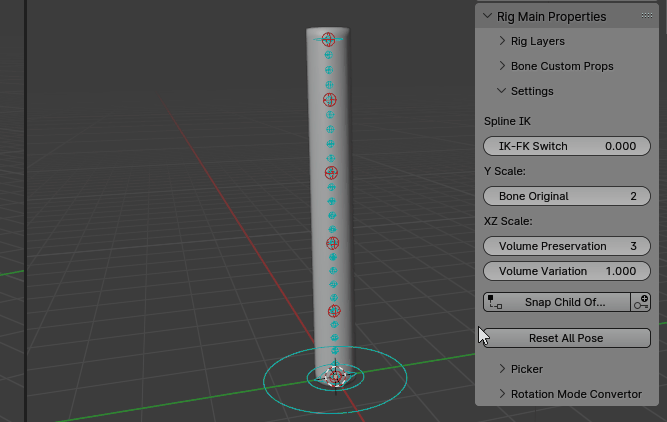
Spline IK options
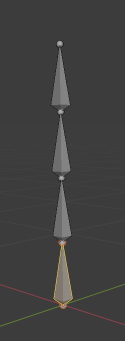
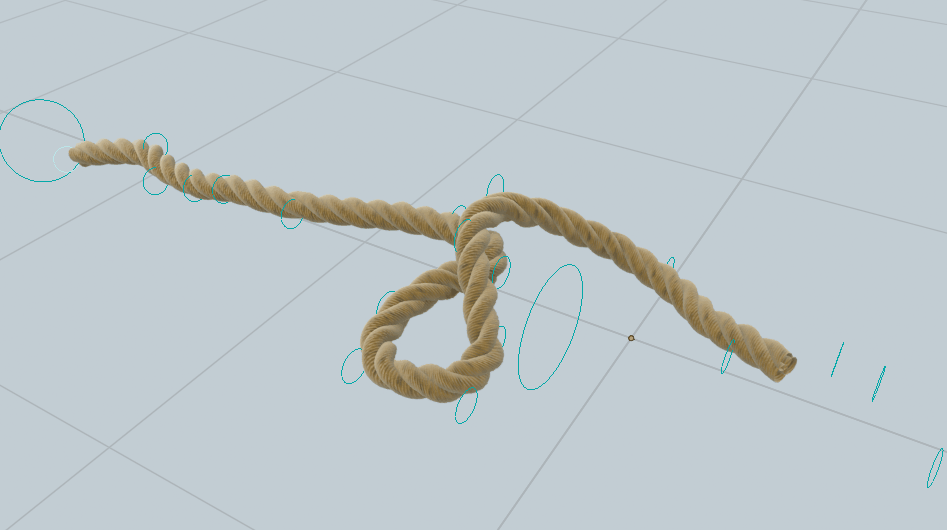
IK Splines are useful bone chains to rig ropes, tentacles… It can also be used as a replacement for the default FK spine. It’s recommended to keep 1 spine bone though, to keep the c_root_master and c_root controller, and parent the root bone of the Spline IK to it.
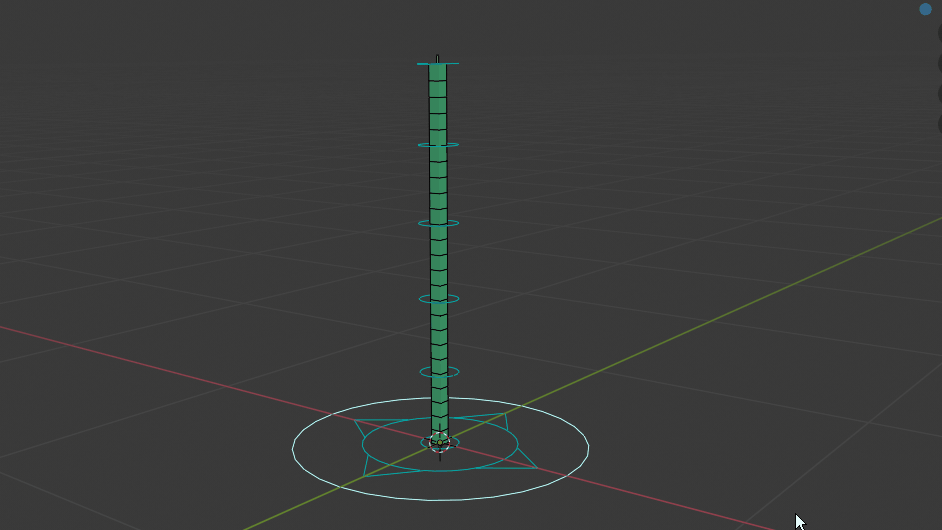
IK Spline Count
Number of bones for the IK spline bones chain
Bendy Bones Count
Number of bendy-bones per bone, for a smoother result.
Curve Smoothness
Increase or decrease the extra smoothing of the curve shape. Decreasing it is useful if spline bones have different locations between rest/pose position due to the curve extra smoothing.
End Controller Parent
To define the parent of the last bone of the chain. By default parented to the tip controller, however it can produces interesting effects for ropes when parenting to the root. If set to None, the parent can be freely changed after “Match to Rig”.
c_spline_tip Parent
Parent of the tip controller of the chain. By default parented to the root (c_spline_root) If set to None, the parent can be freely changed after “Match to Rig”.
Name
Name of the Spline IK chain bones.
Side
Define the side (middle .x, left .l, right .r) of the chain, by renaming bones with the chosen suffix.
IK-FK Chain
Generate an FK chain as well if enabled, with IK-FK switch and snap settings.
Update Vertex Groups
Automatically rename the vertex groups if any, so that it’s not necessary to re-bind the mesh. For example, when enabling IK-FK Chain, the deforming bones names will be different from the original names (when IK-FK Chain is disabled), then this setting allows automatic renaming of vertex groups. There are usually no reasons to turn it off.
Deform
Enable or disable weight deformation of the spline IK bones. Disabling it may be useful when creating more bones (by hand) over the existing ones, to set new bones as the deforming ones instead of the base spline IK bones.
Update Transforms
Change the existing spline reference bones position when clicking OK (grid align). Disable it to preserve their position. If the spline count is changed, enabled automatically.
Advanced Mode
The Advanced mode enables more options to fine tweaks the curve shape with master, inter, and individual controllers.
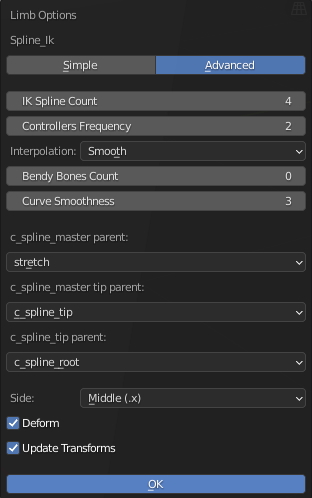
Controllers Frequency
The frequence defining the master controllers spacing along the bones chain. For example, setting to 2 will add a master controller every 2 bones.
Interpolation
Interpolation type for the inter controllers, between two master controllers. Linear produces straight lines, while Smooth leads to curved lines.
c_spline_master parent
Parent bone of the c_spline_master bone. Setting it to None allow free parent, by manually setting it.
c_spline_master tip parent
Parent bone of the last c_spline_master bone (at the tip of the chain). Setting it to None allow free parent, by manually setting it.
c_spline_tip parent
Parent bone of the c_spline_tip parent. Setting it to None allow free parent, by manually setting it.
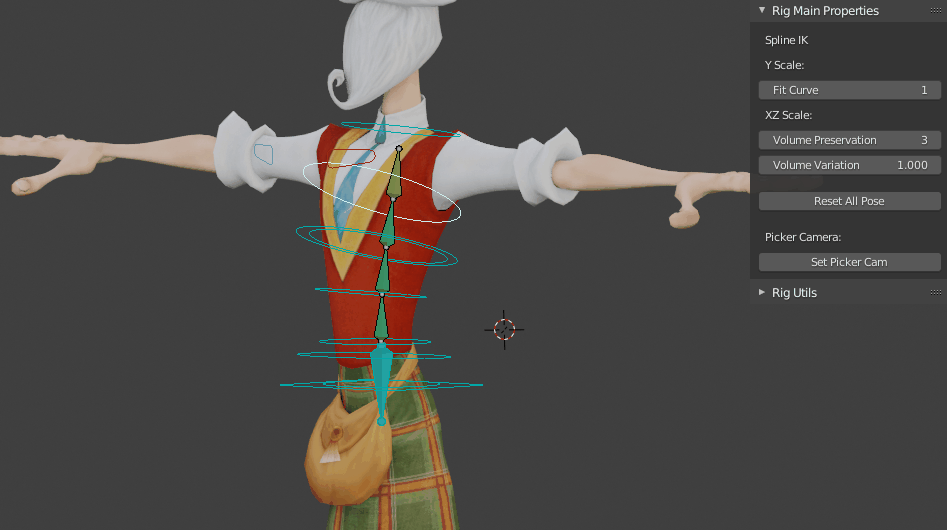
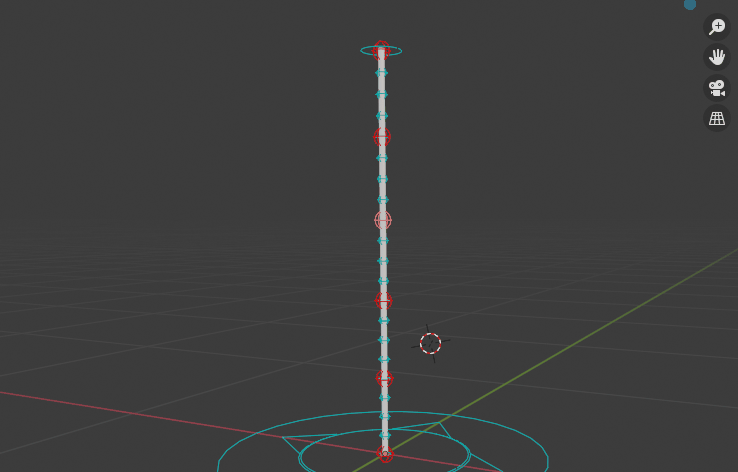
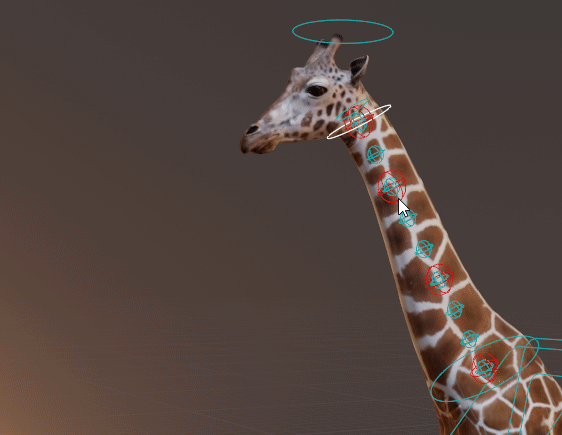
IK Spline example to rig an IK neck
It can be convenient to rig creatures with long necks with an IK spline as neck bones. The typical setup would be the following:
- Add a Head limb
- Add a Spline IK limb
- Parent the neck reference bone to the last spline IK deforming bone, for example “spline_04_ref.x” for a Spline IK made of 4 bones.
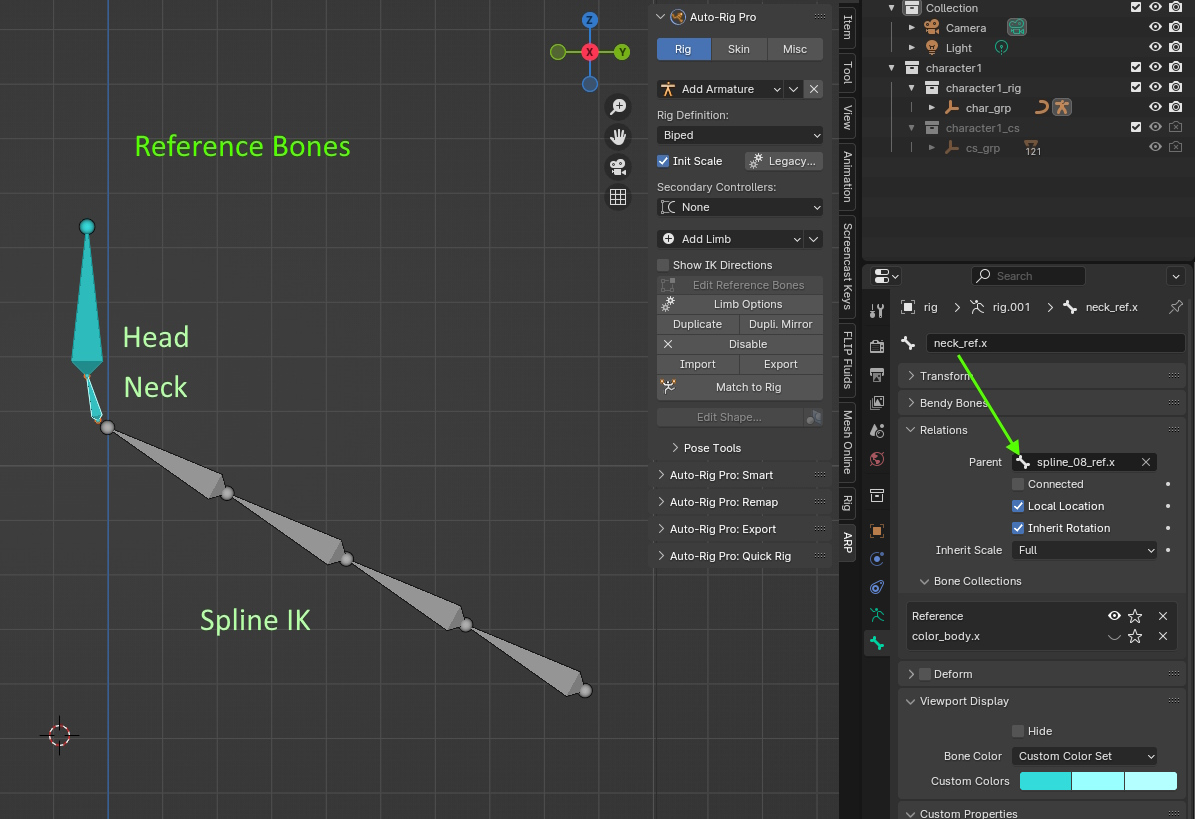
- In “Limb Options”, enable Advanced, Twist, Custom, “c_head.x” as target bone. And IK-FK to generate a switchable IK-FK chain.
- After “Match to Rig”, the neck bone should now be parented to the Spline IK, and Spline bones will twist when rotating the head
Bendy-Bones Options
Bendy-Bones chains are useful to rig stretchy components, hair, snakes… Each bone is subdivided into multiple segments, allowing smooth, consistent deformations.
Bendy Bones Count
Amount of bones in the chain
Bendy Bones Segments
Number of bendy-bones segment per bone
Controller Scale
Scale of the controller shapes
Side
Define the side (middle .x, left .l, right .r) of the chain, by renaming bones with the chosen suffix.
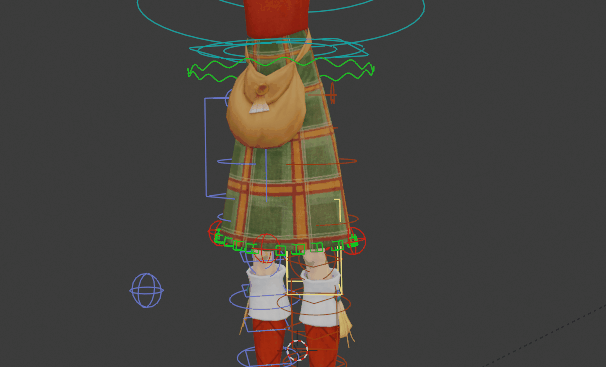
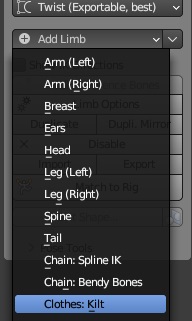
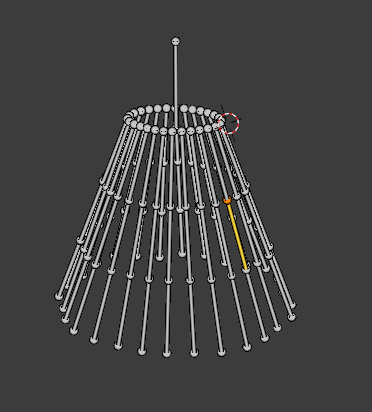
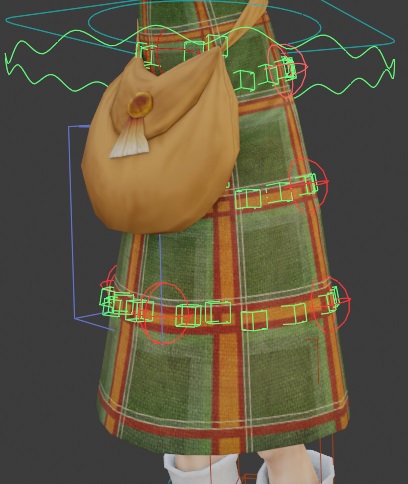
Kilt Options
The Kilt limb is designed to rig dresses, skirt, and other kilt-like clothes.
It supports automatic constrained collisions with legs, and master controllers to drag multiple base controllers at once, for easy tweaking.
While the constrained collision system will never be as nice as true simulated clothes dynamics, on projects that don’t require high-end clothes it can be really valuable. Since collision are evaluated on a fixed distance along the bone, there may be slight penetrations here and there with legs, that can be fixed easily by tweaking the controllers.
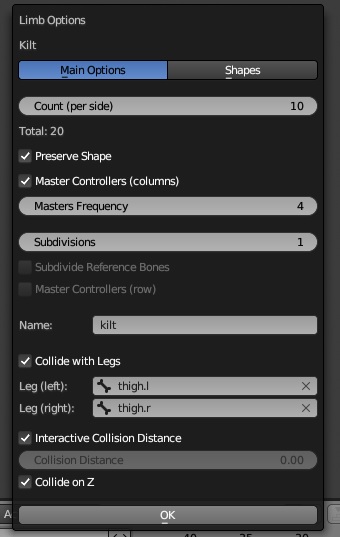
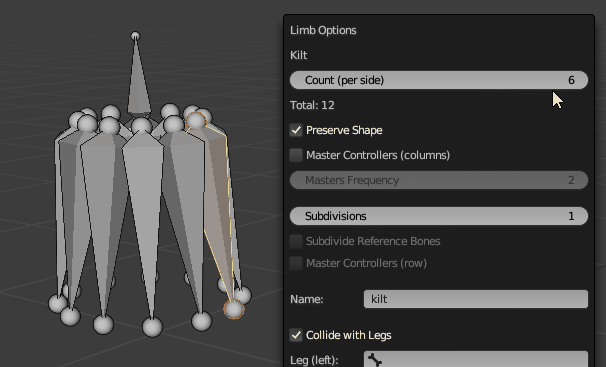
Count (per side)
The number of main kilt bones per left and right sides. The total amount is this value multiplied by 2.
Tip
A good practice is to create one bone per vertex/loop. If the model is high-poly (e.g. 100 vertices per row), using one bone every 2 or 4 vertices can be enough.
Preserve Shape
If enabled, preserves the shape formed by the existing reference bones when the Count or Subdivisions values are changed. Otherwise, bones will be aligned in a standard perfect circle shape.
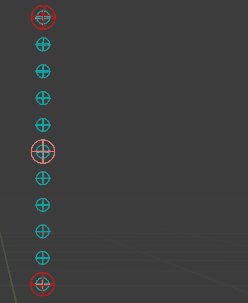
 Before changing the Count
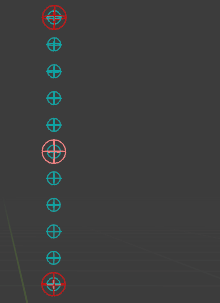
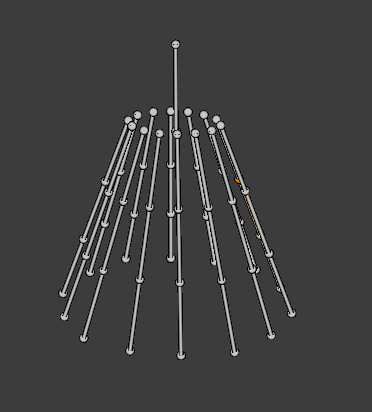 After Count reduction by 2, Preserve Shape enabled. Same thing with less bones.
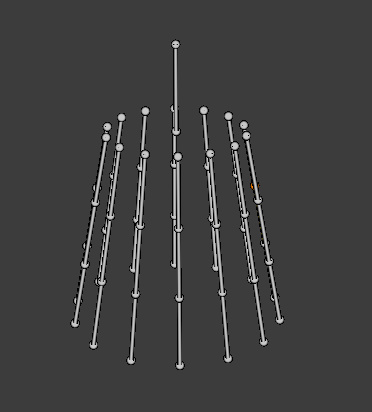 After Count reduction by 2, Preserve Shape disabled. The bones are positioned differently, they are set in a perfect circular shape instead of preserving the original shape
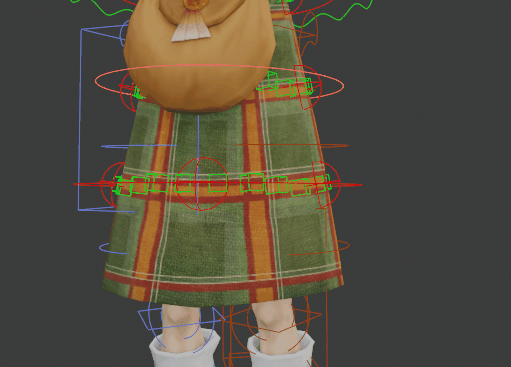
Master Controllers (columns)
If enabled, add master controllers every Nth bone (frequency setting below). Master controllers are useful to drag multiple bones at once when tweaking the pose.
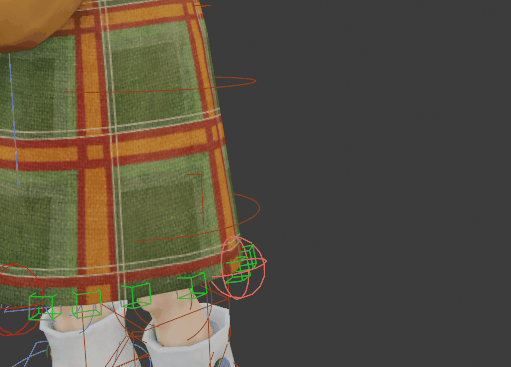 Master controller (in red) selected and rotated, dragging other bones in the neighbourhood
Master Frequency
Defines the frequency to add master bones. For example, 4 will add a master bone every 4 base bones.
Subdivisions
Number of subdivision per bone.
 Subdivisions set to 3, leading to 3 rows of controllers
Subdivide Reference Bones
Whether or not reference bones should be subdivided. If not, the subdivided final rig bones are simply aligned along the head-tail axis of the reference bone (Y axis). If enabled, allow specific alignment, for example useful for curvy surfaces.
 Reference bones subdivided, 3 divisions
Master Controllers (row)
If enabled, add master controller for each subdivision/row, as a large circle shape controller.
Name
Nothing too complex here, just the base name that will be included in each bone name.
E.g: If name ‘kilt’, reference bones are named: kilt_05_03_ref.l
Collide with Legs
Allow constrained collision with leg bones. You generally want the deforming bones to be set in the entries below.
Typically, in an Auto-Rig Pro armature:
- Leg(left): thigh.l
- Leg(right): thigh.r
Interactive Collision Distance
If on, the collision settings are kept interactive when posing the rig, with property -> constraint driven connections.
Since it’s adding more computation in the loop, it is a togglable option. However, it’s not that performance consuming though on modern computers so it can enabled most of the time.
The interactive settings can be found in the Rig Main Properties panel after Match to Rig, when selecting a control bone from the kilt:

Collision Distance
Set a fixed collision distance, when the setting above is disabled.
Collide on Z
Add a constraint on Z axes, generally gives more accurate collisions.
Since it’s adding more computation in the loop, it is a togglable option. However, it’s not that performance consuming though on modern computers.
Shapes
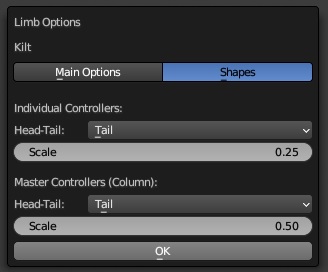
Set the position of the controller shapes at the head, middle or tail of the bone, and set scale values.
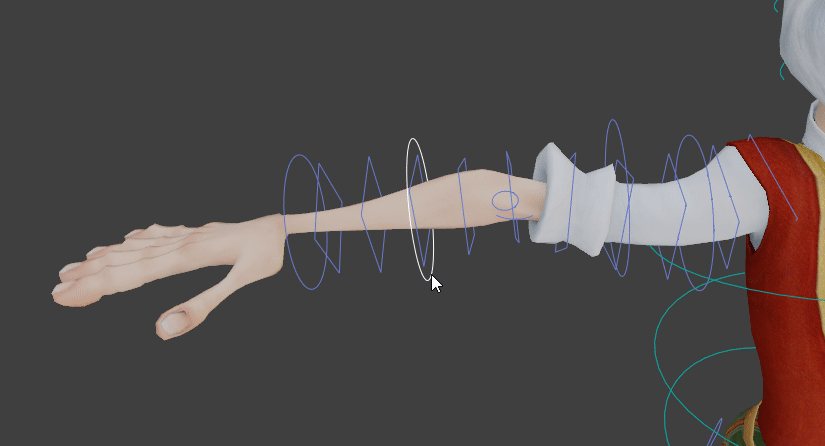
Secondary Controllers
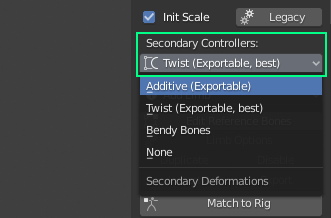
There are 3 deformation modes in option for the secondary bones (bones used to curve the arms, legs). To export to game engines, use Twist (best), or Additive mode. If no export is required, Additive will give good results, while Bendy Bones is best for stylized/cartoon characters.
Twist
- Twist and secondary controllers are exportable to Fbx, recommended for best export compatibility.
- One secondary controller per twist bone, consequently up to 6 per limb.
- Bendy-bones control for easy adjustment of the global curve, while using real (twist) bones to deform and keeping it exportable.
- Best control over the shapes, each twist bone can be moved and rotated separately.
Additive
- Twist and secondary controllers are exportable to Fbx. However, the exported weights may be slightly different since the additive weights are “baked” onto the main weights.
- 3-4 controllers per limb for precise shapes sculpting.
- Additive skinning involves more bones, so more vertex groups.
Bendy Bones
- Twist and secondary controllers are not exportable to Fbx. Must be used for internal Blender projects only.
- Only 2 controllers per limb but very smooth control. Ideal for cartoon characters.
- Easy skinning: only one vertex group per limb, the secondary and twist bones are computed internally by the bendy bones system.
None
- No secondary controllers
Important
All changes are applied when clicking Match to Rig. Changing secondary controllers mode after binding requires to re-bind the meshes, otherwise some bone weights will be incorrect.