Picker Panel
Setup
The picker addon must be installed first.
If you haven’t done it already, you might want to split the 3D viewport into two areas, one view to display the character and one view to display the picker panel. How to do this:
- Click at the top right corner of the 3d viewport, then hold and drag it onto the left:
- In the Misc tab, Add Picker will generate a new picker (there is none by default). It’s also possible to Export or Import a picker layout file.
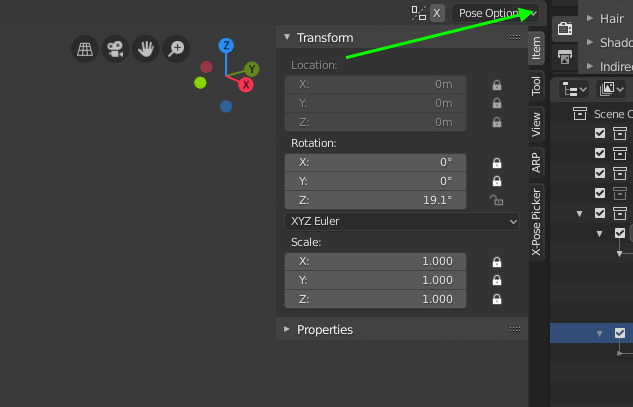
- Then click the Set Picker Cam, in the view where you want to display the bone picker.

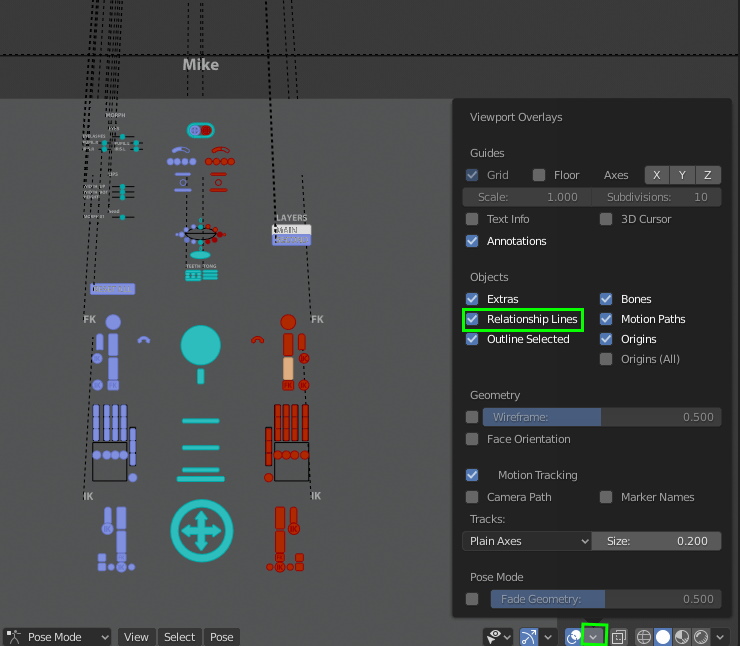
Dotted lines may appear and clutter the interface, to remove them just uncheck the Relationship Lines option in the Overlays panel.
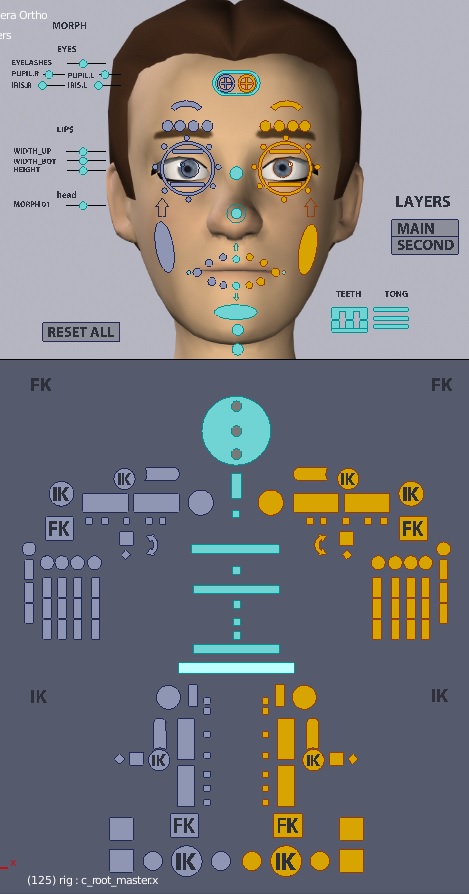
You can add a background facial picture by framing your character’s head, and clicking Capture Facial. If you want to replace this openGL screenshot by a real render, just replace the saved image file with your own file.
To change the picker layout, click Edit Layout…. You’re now free to select, move, rotate and scale the picker bone shapes, buttons, text and background picture. Once you’re done, click Apply Layout to complete.
Remove
- If the picker panel is not necessary, delete it with the X icon button next to Add Picker.
Customize
To add custom picker bones:
- In “Misc” panel, click Edit Layout
- In Edit mode (Tab key), select a picker bone
- Duplicate it and rename it with the correct name identifier. (e.g “c_spine_03_proxy.x” to -> “c_custombone_proxy.x”)
- In pose mode, in the “Proxy Picker” tab of the bone menu, change the “Pick Bone” to your custom bone name
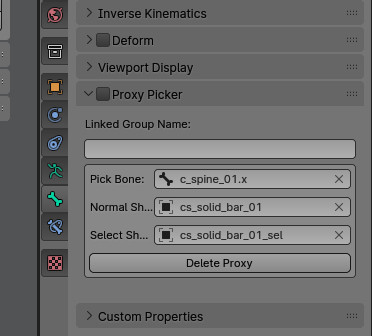
- Note: the other settings (normal shape, select shape…) are deprecated in Blender 4 and do not work. If you want to change the picker shape, change the bone custom shape directly.
- Click Apply Layout in the “Misc” menu
Tip
This picker system was created 8 years ago, based on the addon “Proxy Picker” by Max Hammond, when there was no decent picker addon for Blender. Although it’s absolutely usable and fine, it’s more of a hack than a real picker solution. I
Color Theme
Colors of left, middle and right bones can be adjusted quickly with the Color Theme. Click Assign to set the colors of all bones from the given sides.
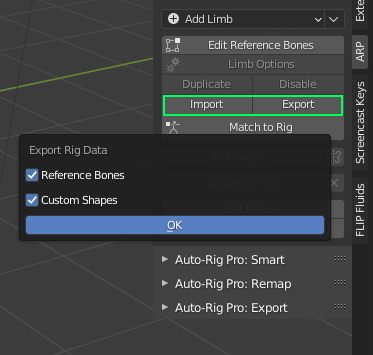
Import/Export Rig Data
Reference bones transforms, limb options, and custom shapes can be exported as a file and imported later.
These features are useful to restore a broken rig: for example, if you accidentally removed some internal bones, drivers or constraints, leading to break the rig. Then, restore the rig by exporting the rig data, delete the current rig, create a new one, and import the rig data.
Only Auto-Rig Pro limbs can be exported/imported. The custom bones can be exported/imported via Saving Custom Bones