Skinning
Binding
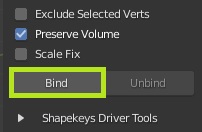
- Select first the character meshes objects, then the armature while holding the Shift key.
- Click the Bind button to bind.
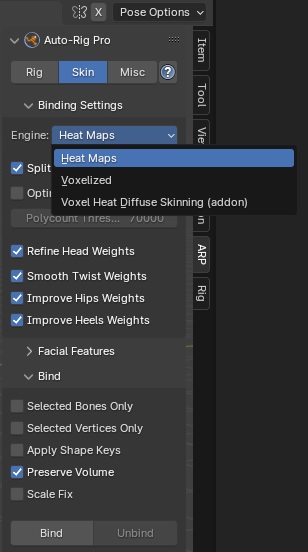
Bind Engines
- Heat Maps: Default engine, works best with watertight meshes (closed mesh)
- Voxelized: If meshes are not watertight (e.g. multiple layers of clothes, props, complex topology…), consider using this engine. However, this doesn’t always lead to good results: this is not a true voxel skinning implementation, but an approximated method. It’s not as foolproof as the Voxel Heat Diffuse Skinning addon, neither as fast.
- Voxel Heat Diffuse Skinning: Extra skinning addon to bind meshes with complex topology. Use pure voxel skinning algorithm.
Tip
Voxel skinning gives best results with multiple layers of clothes/props, however it’s less accurate with small parts (fingers, facial…) than other methods. It’s useful to use it combined with Selected Vertices Only to mix voxels skinning with surface skinning (Heat Maps). For example, use Heat Maps skinning for fingers/facial and Voxelize for the rest of the body.

Bind Settings
- Split Parts (Heat Maps): This setting tries to improve heat maps skinning when meshes are separate in multiple pieces (clothes, props…)
- Optimize High Res (Heat Maps): Speeds up binding of high poly meshes that contains more faces than the given threshold below, by internally working on lower resolutions.
- Type (Voxelized): Voxelization type, switch this setting to another type if it doesn’t lead to good results
- Voxel Resolution (Voxelized-Voxel Heat): The higher this value is, the more accurate and longer to perform the voxelization will be. However, the Voxelized engine may sometimes work better with lower resolutions.
- Refine Head Weights: Makes head weights more consistent, based on the chin position, preventing the neck weights to blend too far with the head weight. Only when using the Smart feature, when facial is disabled, and for bipeds only. Alternatively if not using the Smart feature, make sure the reference jawbone is properly positionned, and disable facial afterward. As a drawback it may lead to (too) sharp deformations in the neck area, example below without/with:

- Smooth Twist Weights: Improve twist bones skinning by applying a gradient decay to weights along the bones chain. Example below without/with:
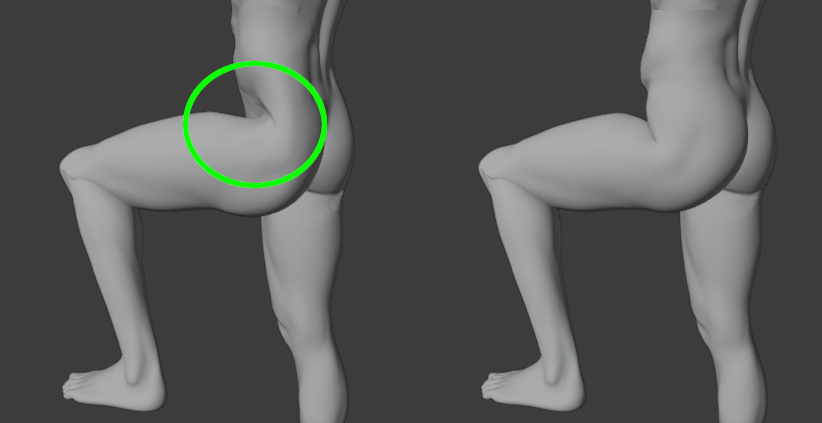
- Improve Hips Weights: Improve hips/pelvis skinning. By default, the thigh weights tend to blend too far in the hips area. This setting prevents that.
- Improve Heel Weights: By default the heel area may be slightly deformed by the thigh weights. This setting make sure to solidify it, leading to more consistent weights.
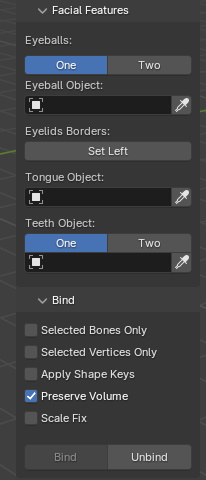
- Facial Features: Improve skinning of facial parts by defining objects used for the eyeballs, tongue, and teeth. The eyelid borders can also be defined for more accurate skinning, by selecting vertices around the left eyelid, click Set Left, and same for the right eyelid.
- Selected Bones Only: Only the selected bones will be evaluated when binding. Useful to bind cloth meshes to clothes bones only for example.
- Selected Vertices Only: Only the selected vertices will be evaluated when binding. Useful to bind specific parts of a mesh, for example to only bind fingers, select only finger vertices and enable this setting.
- Apply Shape Keys: Evaluate the current shape keys deformations when binding. Useful if shape keys are deforming a lot the meshes.
- Scale Fix: Enable this setting if meshes are very small (in Blender units space) and binding doesn’t work
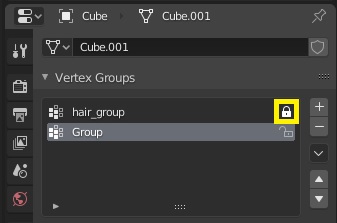
When binding, all existing vertex groups are cleared, except the ones used by modifiers (hair, cloth…) or nodes. However, in case some vertex groups that are actually used by other undetected features must be preserved, click their lock icon before binding:
Tip
Binding can take time, especially with high resolution meshes.
Skinning: Weight Painting and Shape Keys
It’s time to carefully paint the weight vertices for each vertex group in the list. The auto-skinning can be considered as a basis, automatic weights are never perfect.
Facial rigging tutorials:
Skin based (by CGDive, at 34’30”)
Shape Keys based
How to paint the weights?
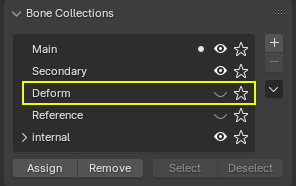
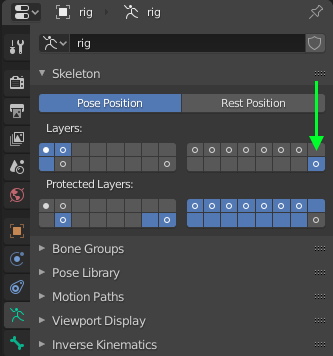
To quickly select the deforming bones and check the associated vertex groups in one click, you can display only the Deform collection (layer 31 in older Blender versions) of the armature, wich includes the deforming bones only:
A quick search in Google (such as “blender weight painting tutorial”) will give you the basis of the Blender’s weight painting tools if you don’t know them, this is something I won’t elaborate more here. Basically, it’s all about browsing the vertex groups list and painting the weights.
For a high quality skinning, this process can take some time, do not hesitate to test the skin accuracy by posing the character into several extreme position (arms up, arms down, arms ahead, thighs up…)