Step 1: Choose the product type
- On the Admin sidebar, go to Catalog > Products.
- On the Add Product menu at the upper-right corner, choose Configurable Product .Add configurable product
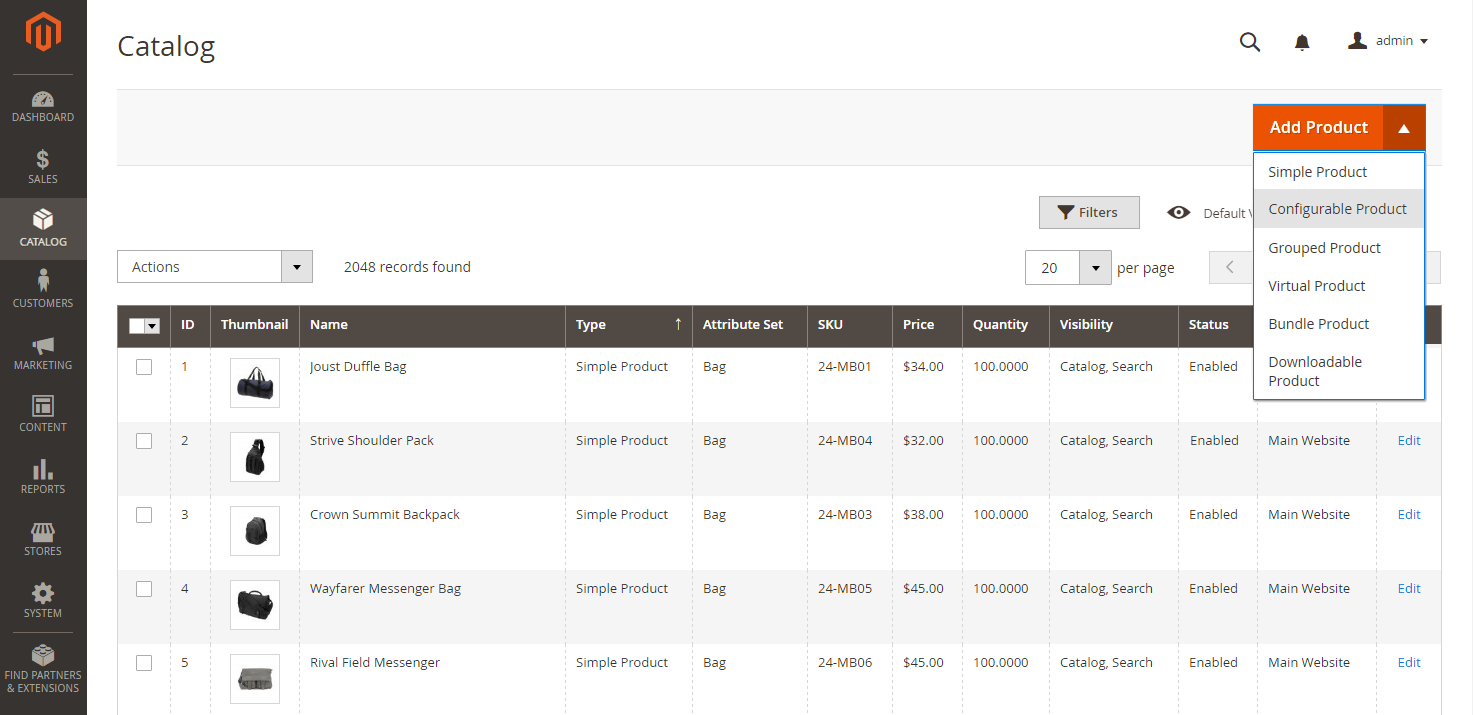
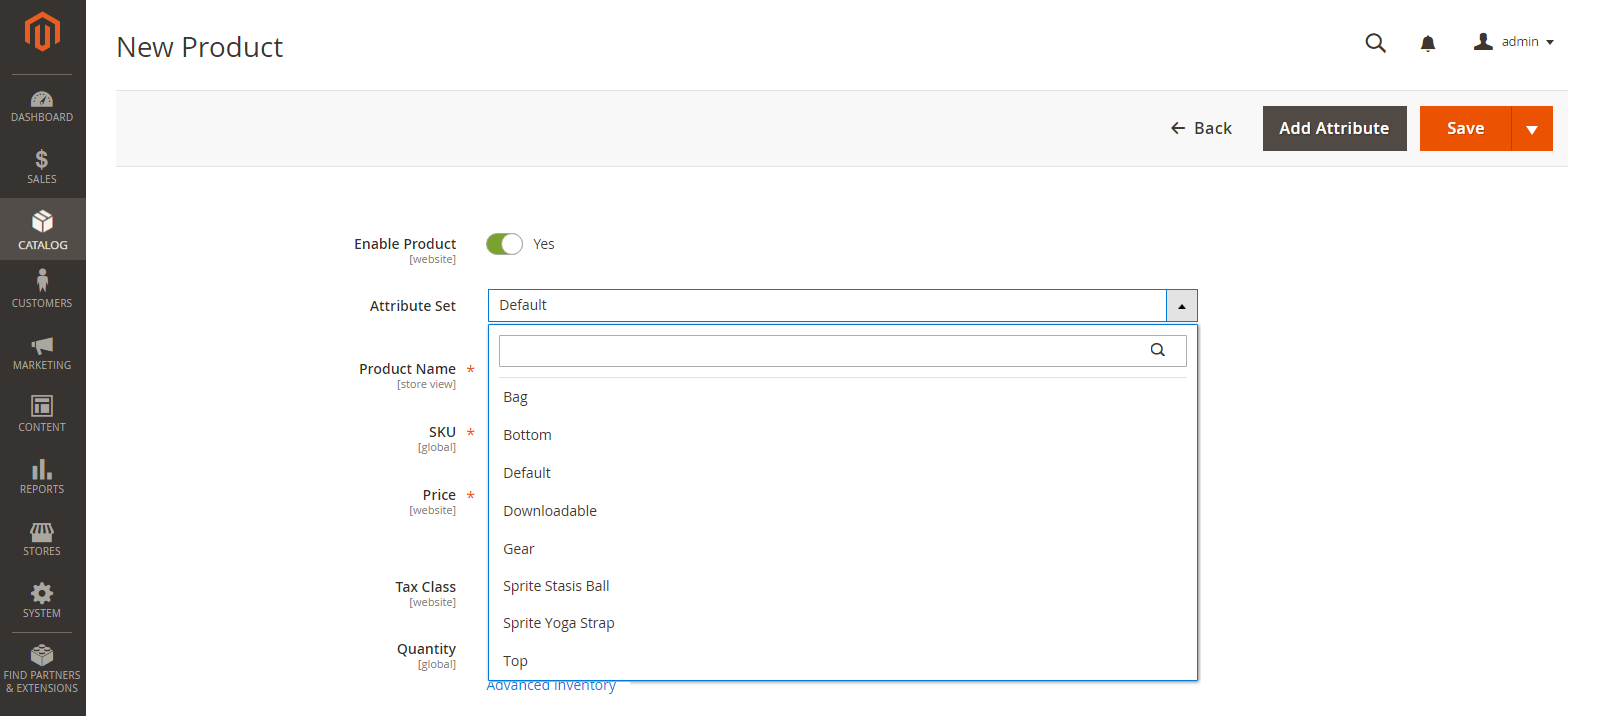
Step 2: Choose the attribute set
- To choose the attribute set for the product, click the field at the top of the page and do one of the following:
- For Search, enter the name of the attribute set.
- In the list, choose the attribute set that you want to use.The form is updated to reflect the change.
- If you need to add an additional attribute to the attribute set, click Add Attribute and follow the instructions in Adding an Attribute.
Step 3: Complete the required settings
- Enter the product Product Name.
- Accept the default SKU that is based on the product name or enter another.
- Enter the product Price.
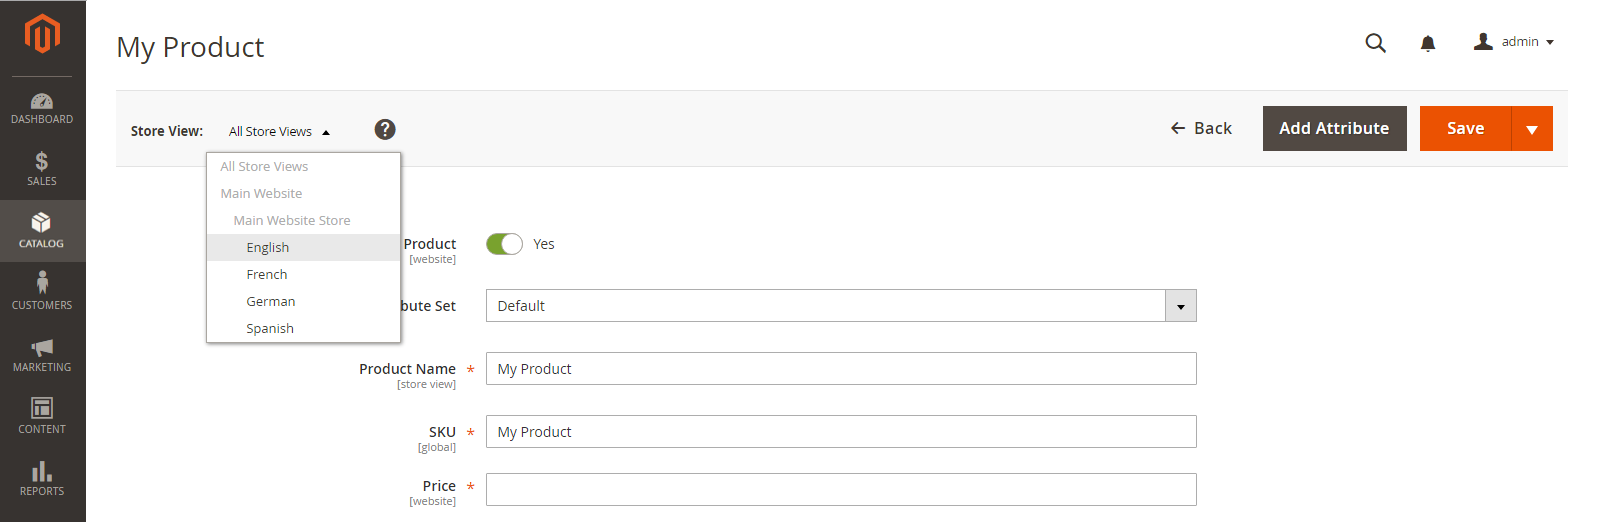
- Because the product is not yet ready to publish, set Enable Product to
No. - Click Save and continue.When the product is saved, the Store View chooser appears in the upper-left corner.
- Choose the Store View where the product is to be available.Choose the store view
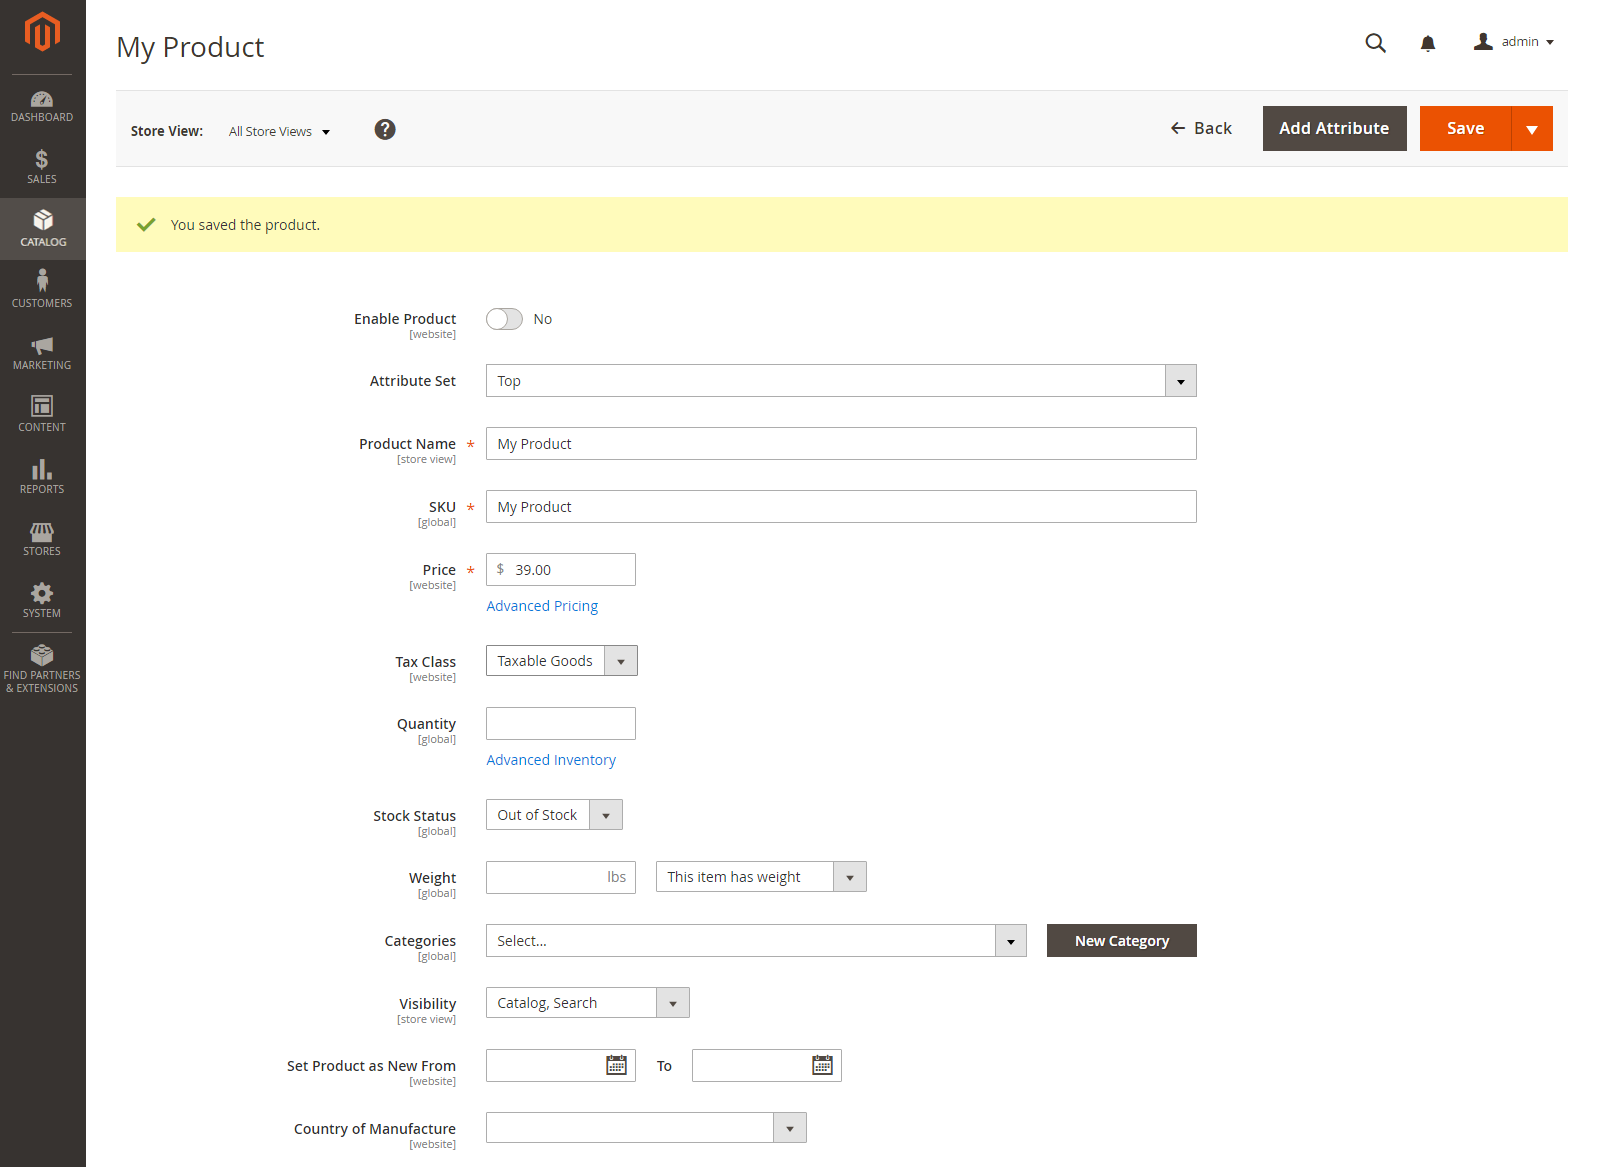
Step 4: Complete the basic settings
- Set Tax Class to one of the following:
NoneTaxable Goods
- The Quantity is determined by the product variations, so you can leave it blank.
- Leave the Stock Status as set.The Stock Status of a configurable product is determined by each associated configuration. Because the product was saved without entering a quantity, the Stock Status is set to
Out of Stock. - Enter the product Weight.
A configurable product must always have a weight. If you select This item has no weight from the drop-down list, it is automatically changed to This item has weight after saving the product.
- Accept the default Visibility setting of
Catalog, Search. - To feature the product in the list of new products, select the Set Product as New checkbox.
- To assign Categories to the product, click the Select… box and do either of the following:
- Choose an existing category:
- Start typing in the box to find a match.
- Select the checkbox of the category that is to be assigned.
- Create a new category:
- Click New Category.
- Enter the Category Name and choose the Parent Category to determine its position in the menu structure.
- Click Create Category.
- Choose an existing category:
- Choose the Country of Manufacture.
Step 5: Save and continue
Adding configurations
The progress bar at the top of the page shows where you are in the process and guides you through each step.
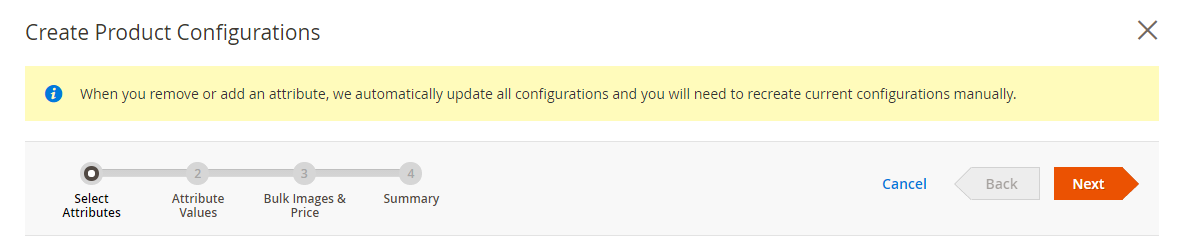
Step 1: Choose the attributes
- Continuing from above, scroll down to the Configurations section and click Create Configurations.Configurations

- Select the checkbox of each attribute that you want to include as a configuration.For this example, we choose
colorandsize. - The list includes all attributes from the attribute set that can be used in a configurable product.Select Attributes
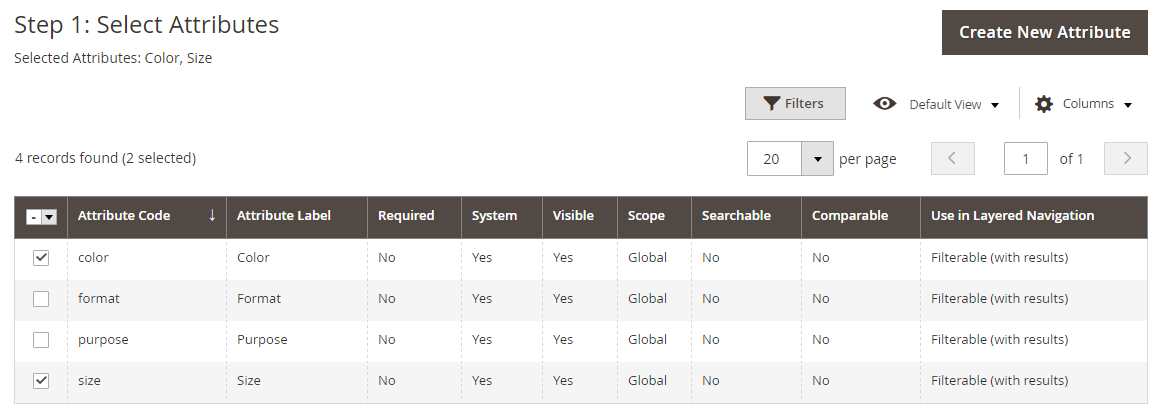
- If you need to add a new attribute, click Create New Attribute and do the following:
- Complete the attribute properties.
- Click Save Attribute.
- Select the checkbox to select the attribute.
- In the upper-right corner, click Next.