We can use this steps for the creation of the Face Book (Meta) pixel and adding event and conventional tracking
Meta Pixel Creation
• To create meta-pixel we require a meta business account.
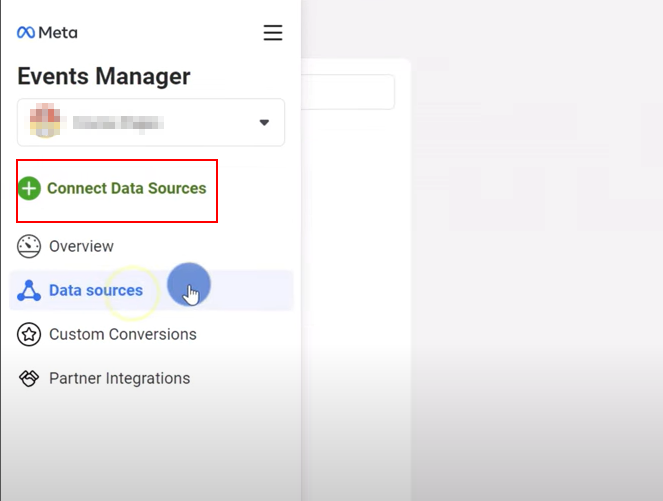
• Go to the “Meta Event Manager” on the menu of Meta business account and click on connect to create new Meta Pixel.
• Enter a name for the meta-pixel and click create pixel.
• After creating the name, it will ask for website which meta-pixel is creating its optional so if the website is available add the website URL otherwise choose “I don’t have a website” option and click continue.
• In this step it will be ask for “Select how you would like to connect your data with Meta:” since we are customizing, we can choose “Do it yourself” option and click on continue. In the next step we have to choose options in “How to connect for your website” and “Meta pixel and Conversions API” is the recommended option.
• The setup of meta pixel will be completed. The next step is to setup meta-pixel to website with the event we desired.
Meta Pixel Set Up by Manually:
• To setup Meta Pixel manually we require the pixel id or the base code which contains the pixel id.
• Go to Events Manager on the menu and click the “Data sources” icon on the left- hand side of the page.
• Select the pixel that need to set up on the website and click continue pixel setup.
• Select Install code manually method to get the meta base code which will be in below format

• Get the meta base code and add it to website header for basic meta pixel setup, for the different event setup add each event with the required parameters on the website