Google Map Integration
According to the Google Maps view, sales representatives select customers based on their requirements, creating task records accordingly. The sales rep typically manages a portfolio of 20 to 50 customers or leads, and he needs to know where his customers are spread-out through google map. By visualizing the distribution of customers on the map, the sales rep can efficiently determine which locations to prioritize. Customers are pinned on the map based on their addresses, allowing the sales rep to easily identify their spread across different locations. This streamlined approach eliminates the need for manual address searches and task record creation, simplifying the process significantly.
Filter Out Customers To Show On Map
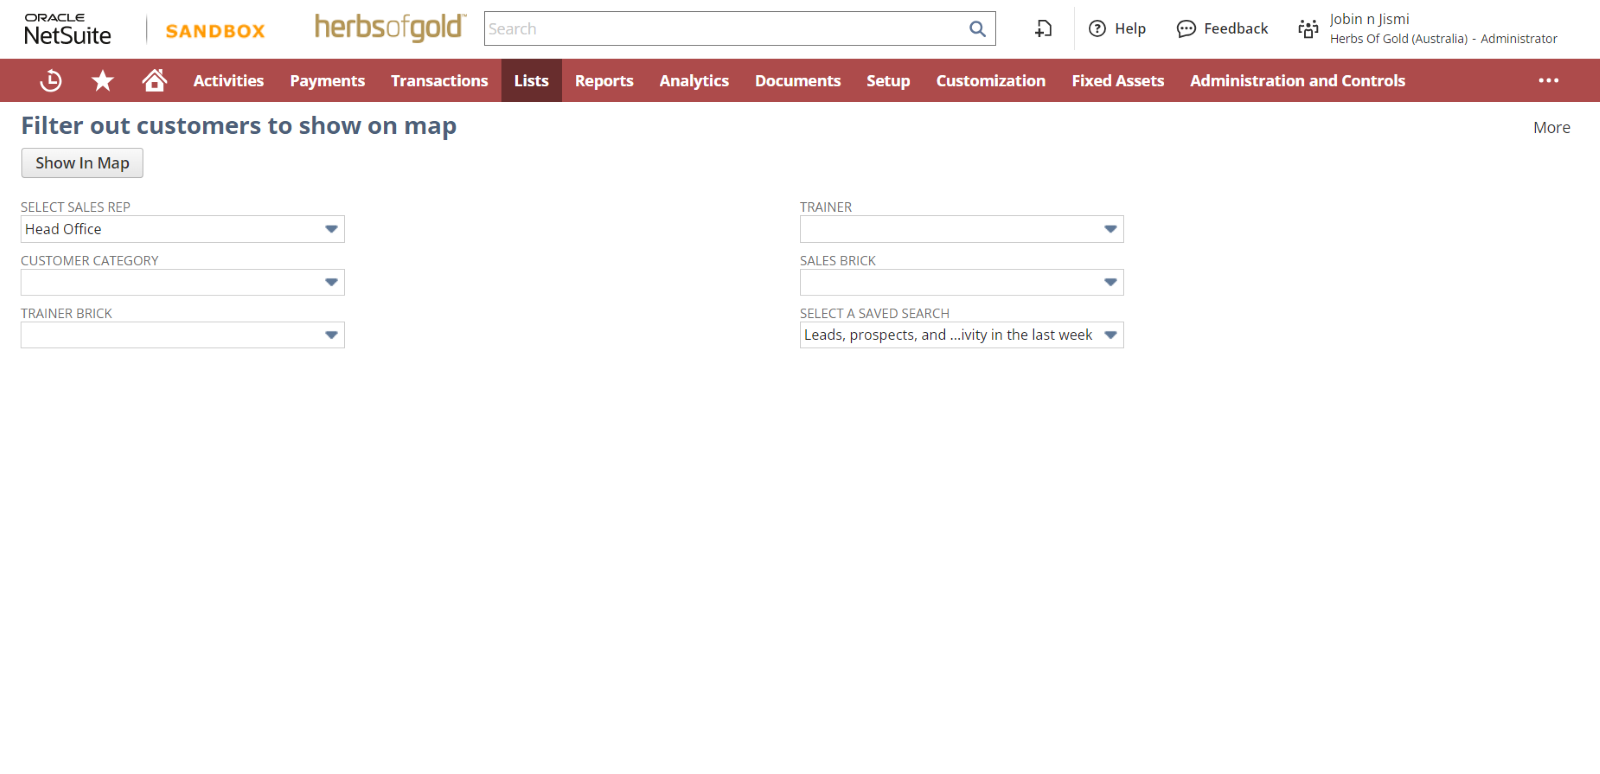
Customers on the map are displayed based on the filters selected. The filters include: SELECT SALES REP, CUSTOMER CATEGORY, TRAINER BRICK, TRAINER, SALES BRICK, SELECT A SAVED SEARCH (here according to the result of this search run will show the customers in the map). The map interface is similar to a standard Google Map, with customers represented as pins. Once the filters are selected, users can click on the “Show In Map” button to display the filtered customers on the map.
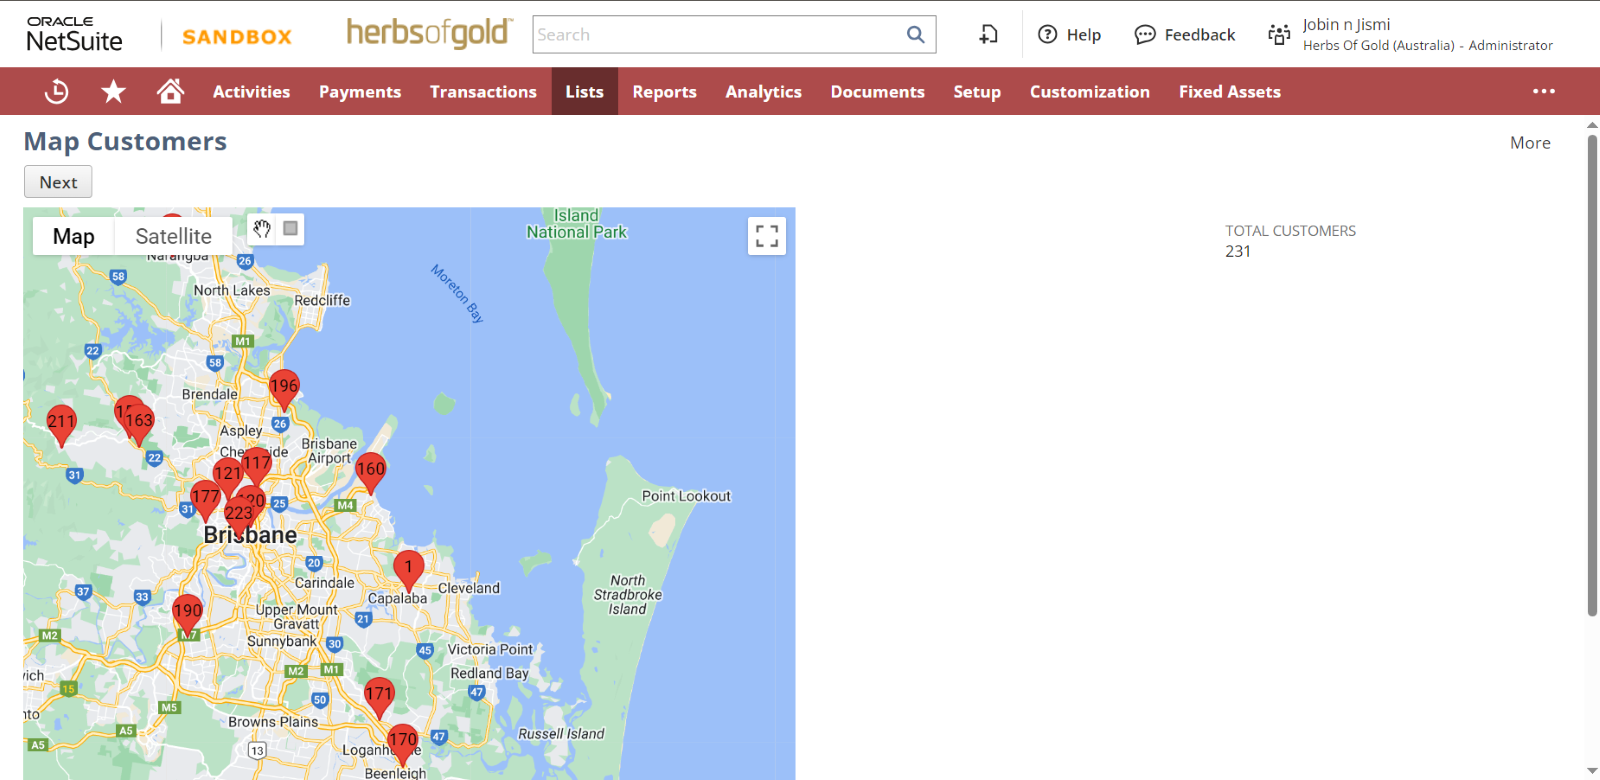
In the map interface, users can easily access the total number of customers displayed, for example: “Total Customers: 231”. Each customer location is represented by a numbered pin ranging from 1 to 231. When hovering over a pin on the map, the name of the corresponding customer at that location is displayed.
The customer record includes two fields, longitude and latitude, which determine the precise location of the customer on the map interface.
Utilizing the “rectangular box” option allows for the targeted selection of customers within a specific area on the map. It serves as an additional filtering mechanism, ensuring that users can efficiently create task records for selected customers within the designated area.
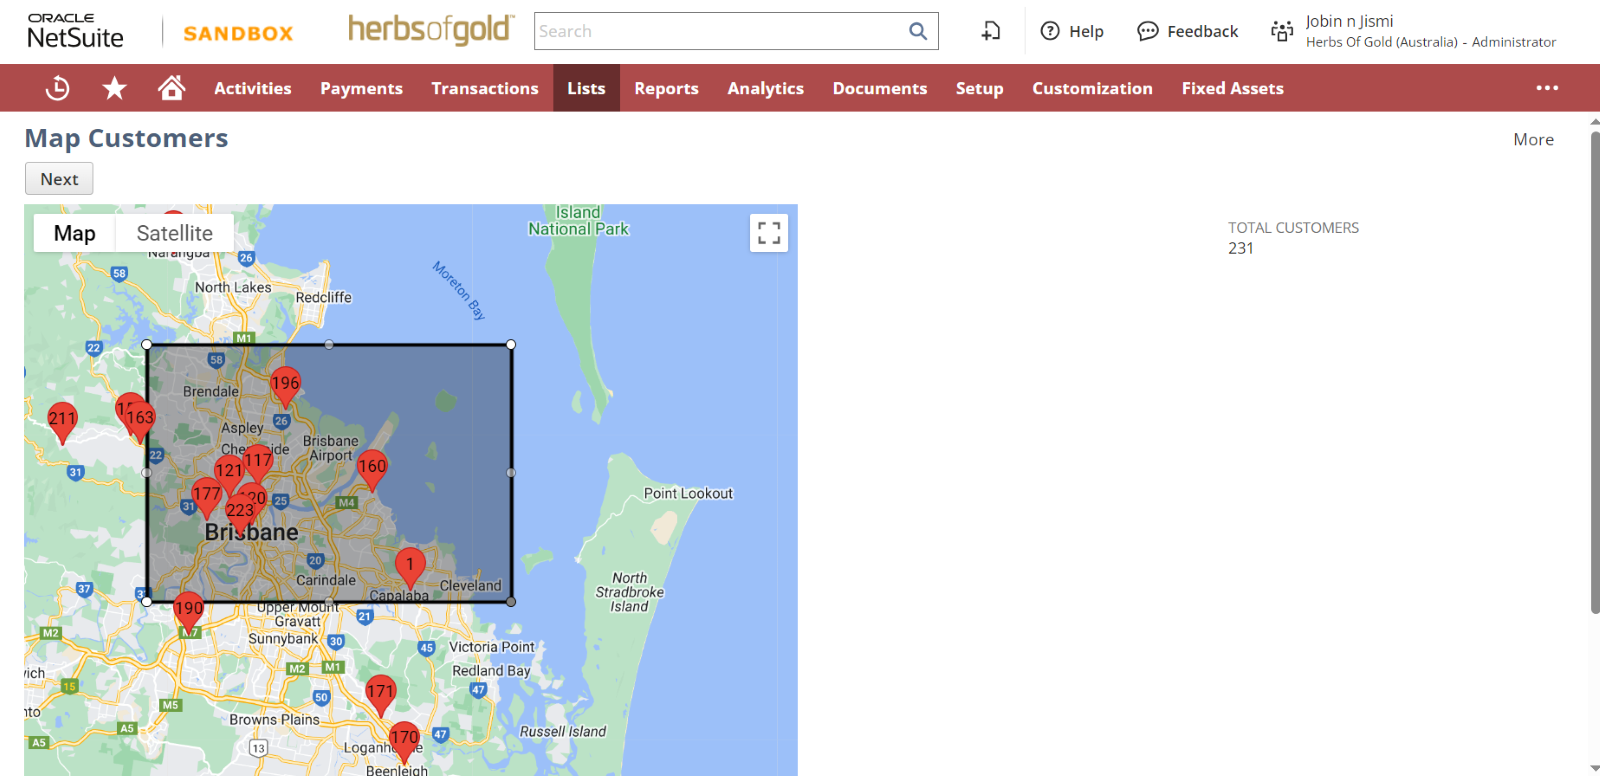
After selecting the required area of customers, then click on NEXT button.
Map Customers Page
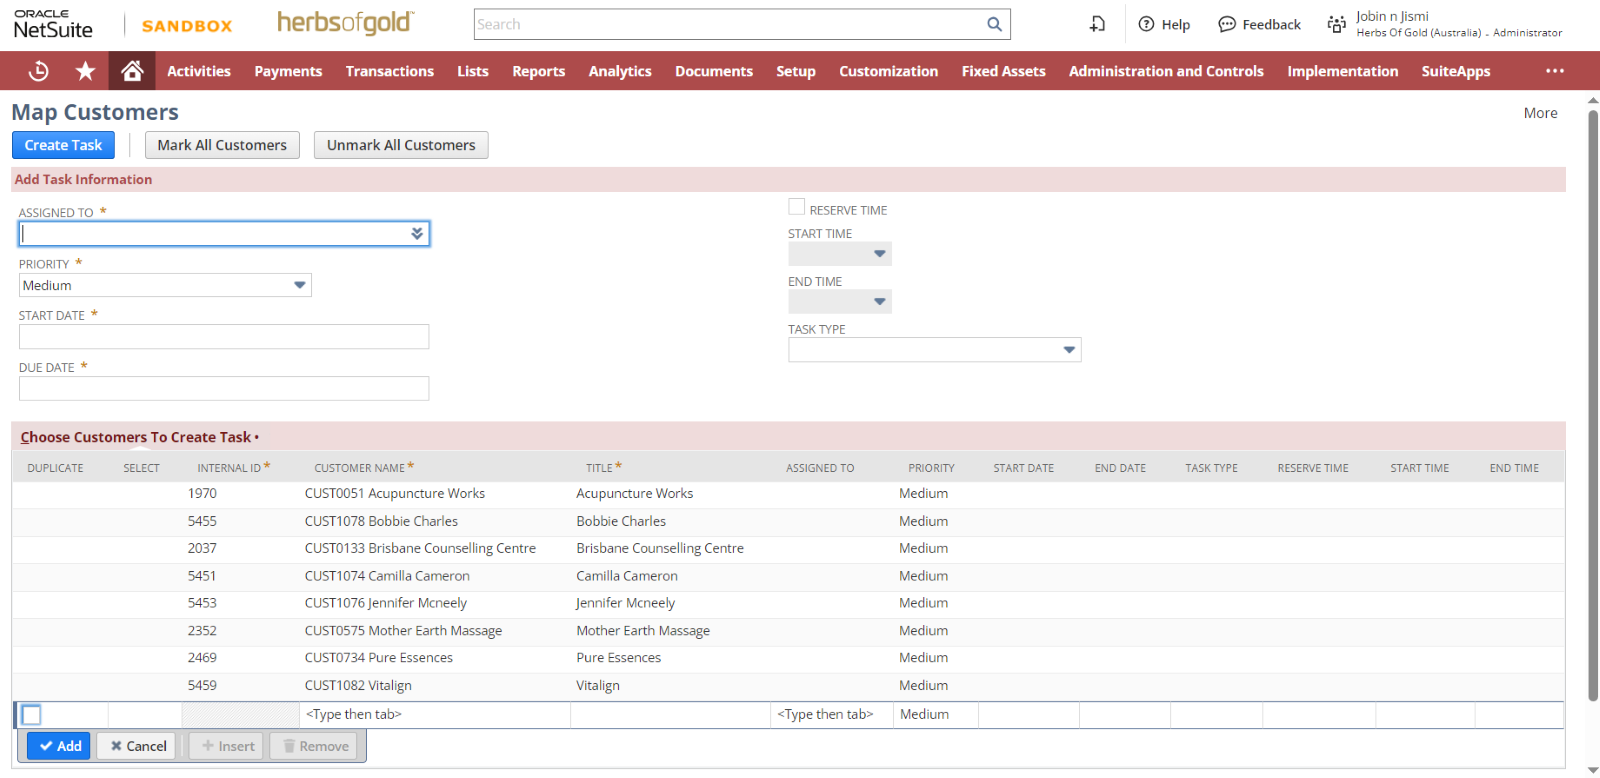
Upon selecting the “NEXT” option on the map, users are directed to the Map Customers Page, where the chosen customers are listed under the tab labeled “Choose Customers To Create Task.” Here, users can specify various details including assignee, priority, start date, due date, and task type, which encompasses options such as store visit, phone call, trainer, admin, leave, and more.
Based on the provided details, corresponding rows for each customer are populated accordingly, offering users the flexibility to manually edit the information as needed. Additionally, users have the option to include additional customers to this list as required. It is essential to mark the customers for whom task records need to be created. If a task has already been created for a customer, then the duplication will show.
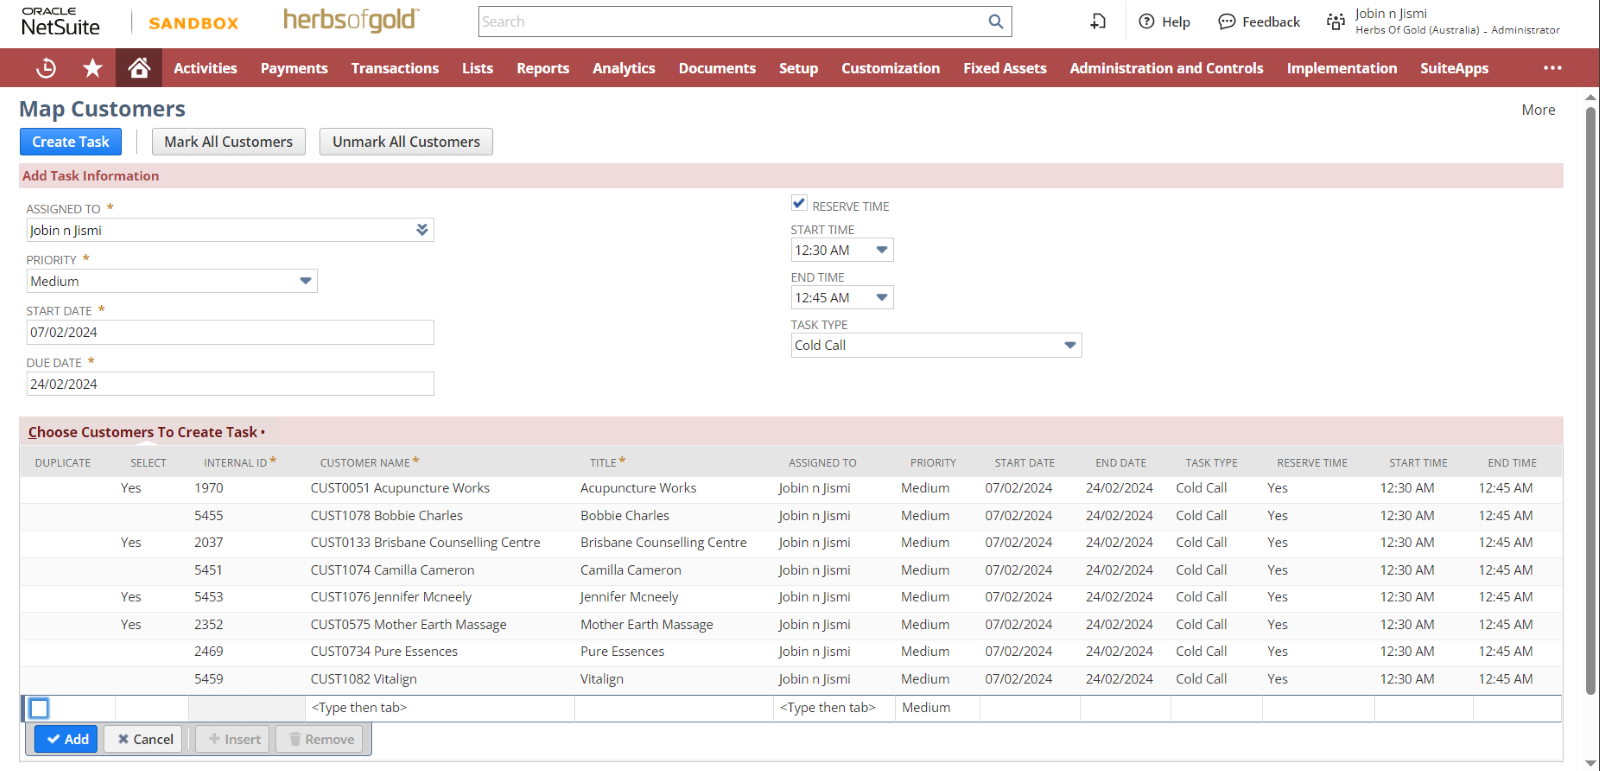
Based on these values we provided task records will be created for the marked customers after clicking on the button “Create task”.
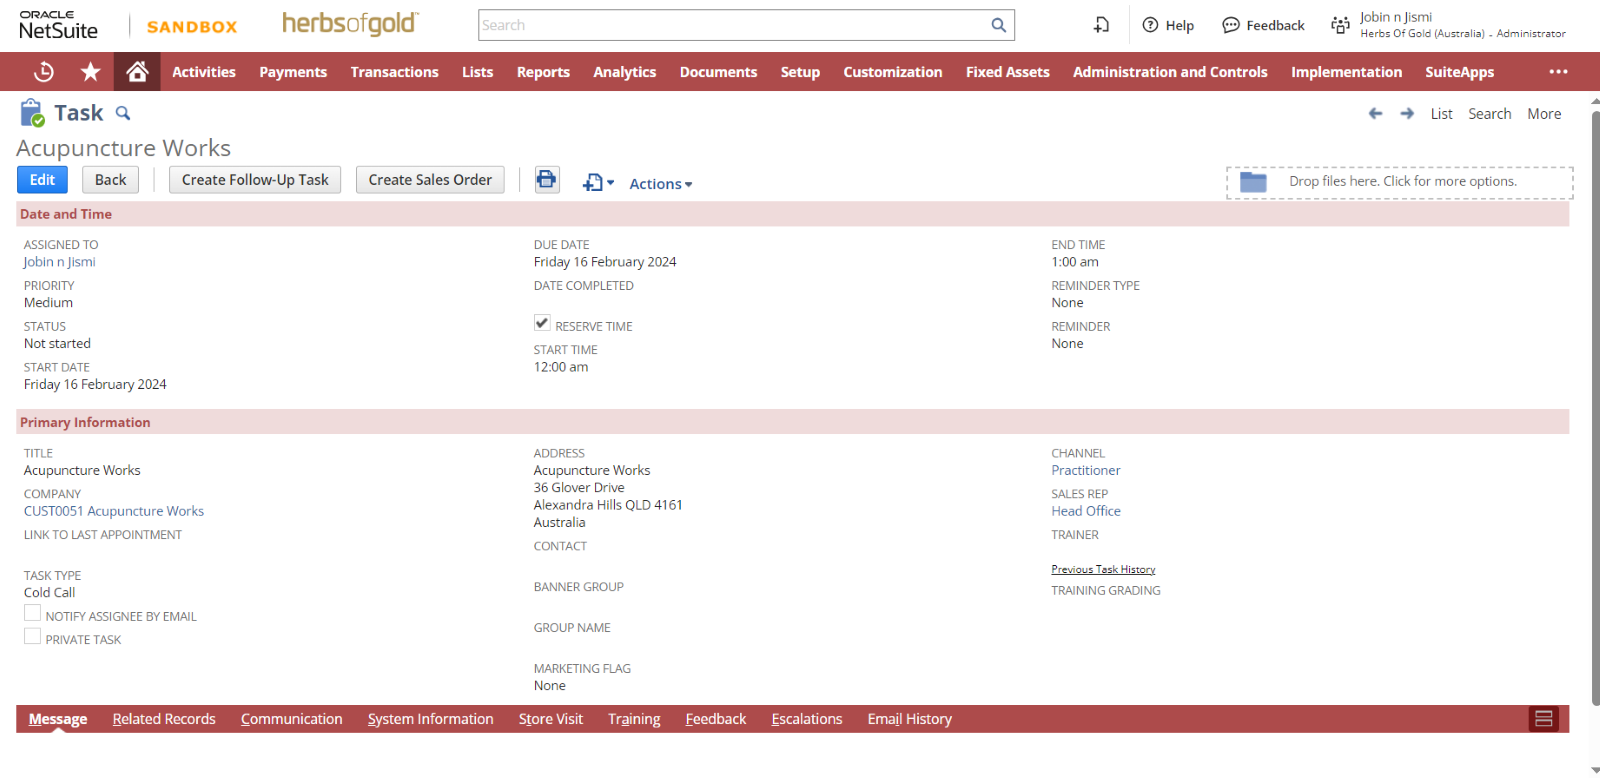
Now the task record has created, here can see the for whom the task is assigned, the company name, start date, due date priority, task type etc. For example according to the above image attached, The assignee ( Jobin & Jismi) need to make a cold call to the customer Acupuncture Works.