To back up a WordPress website, we need to install a plugin. You may install any relevant plugin you want that has the functionality to back up websites. We’re going to install a plugin called Updraft. Let’s see the steps:
Step 1. Go to the WordPress login panel and enter the username and password to log in to the WordPress Dashboard. You can access the login panel by adding /wp-login.php at the end of your website URL. In my case, it is http://127.0.0.1/wordpress/wp-login.php
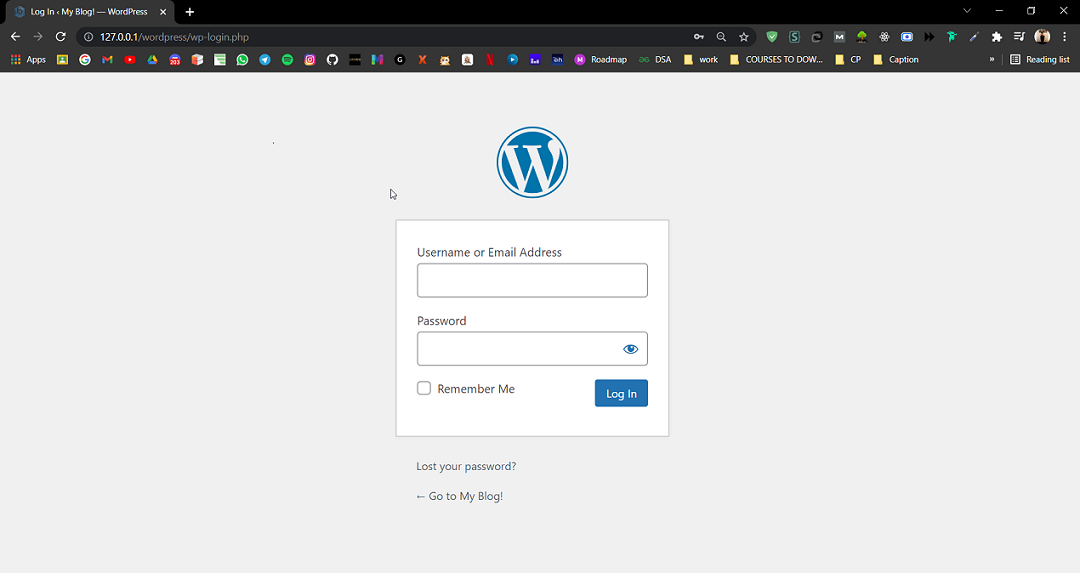 WordPress Login Panel
After logging in, you’ll see a dashboard similar to this:
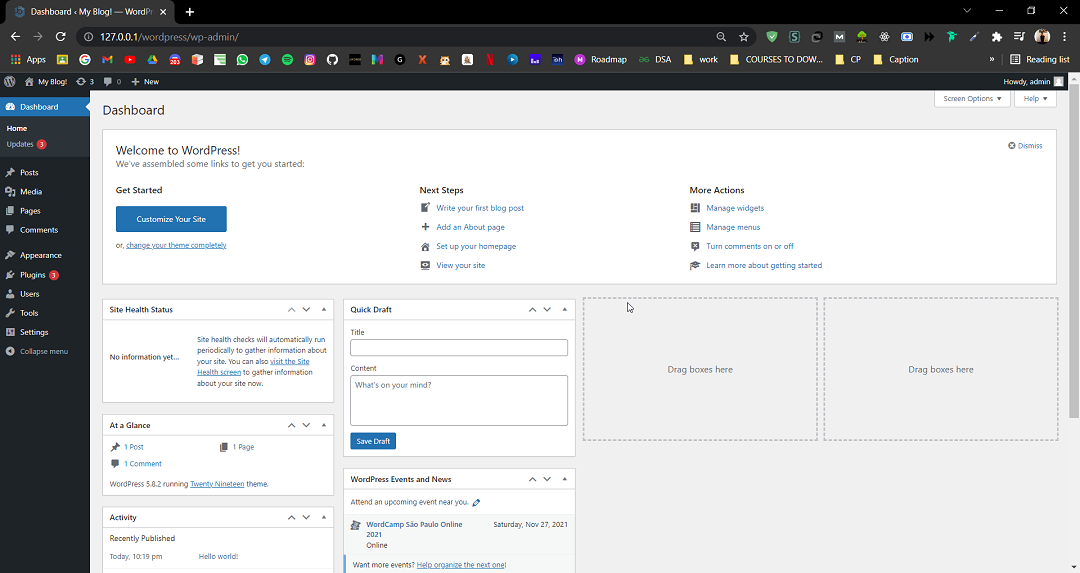 WordPress Dashboard
Step 2. We have to search for the plugin called Updraft and install it. For that:
On the left side, you’ll see many options. Go to Plugins >> Add New.
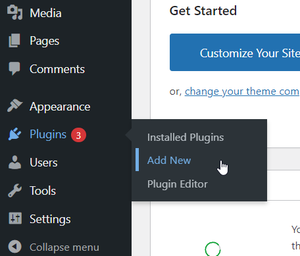 Add New Plugin
Search for a plugin called Updraft. This is the plugin that we are going to use to back up our WordPress website.
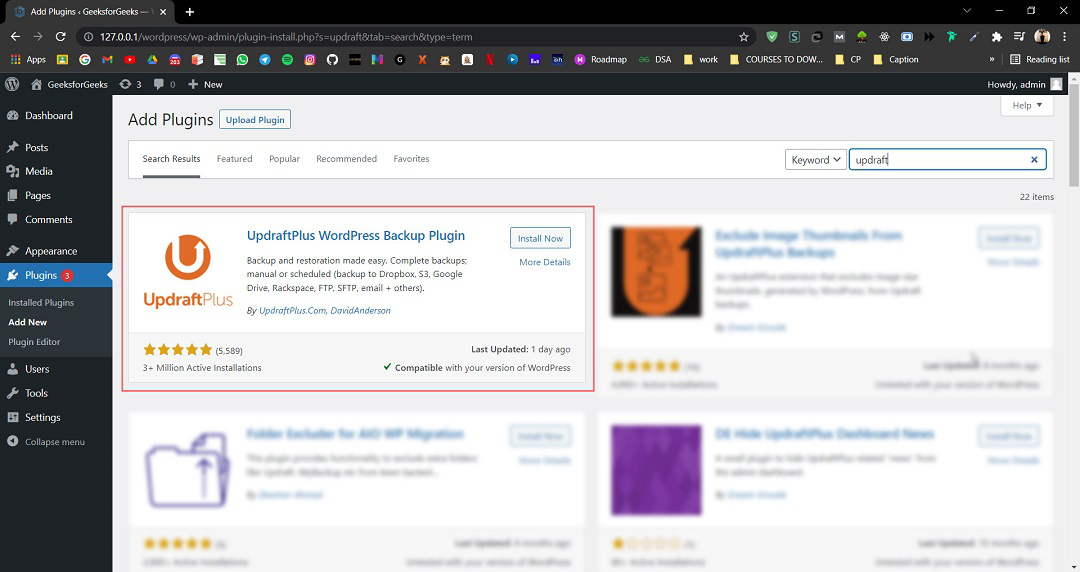 Search for Plugin
The plugin should look like the image below. Click on Install Now. It may take a few seconds to install, according to your system configuration.
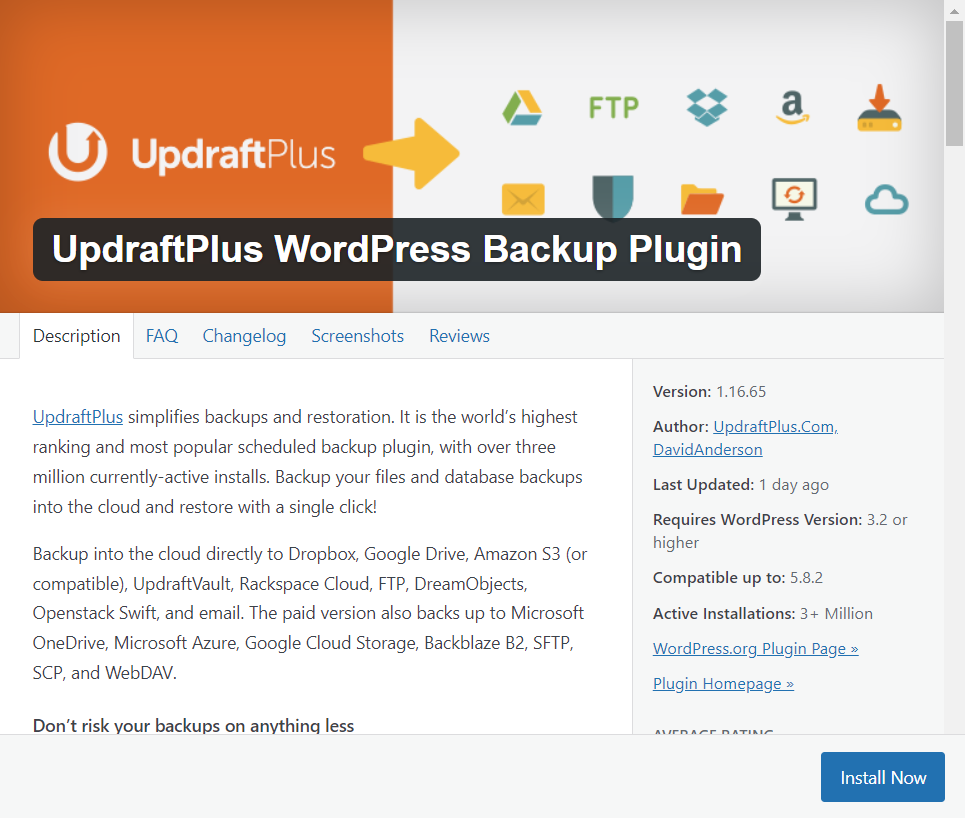 Updraft
Activate the plugin after it gets installed.
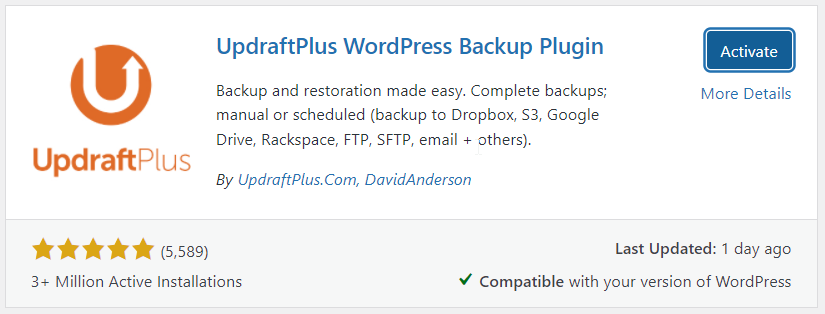 Activate Plugin
You have installed the required plugin to take a backup of the WordPress website. Now see the next step.
Step 3: After successfully installing and activating the plugin, you’ll find a new option in the Settings on the left side called UpdraftPlus Backups. Click on that.
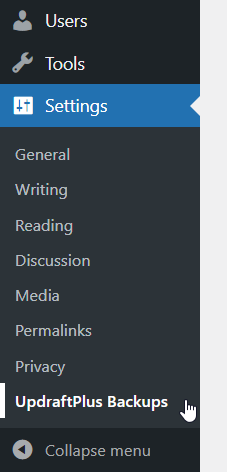 UpdraftPlus Backups
Step 4: Click on Backup Now. You’ll get a popup window.
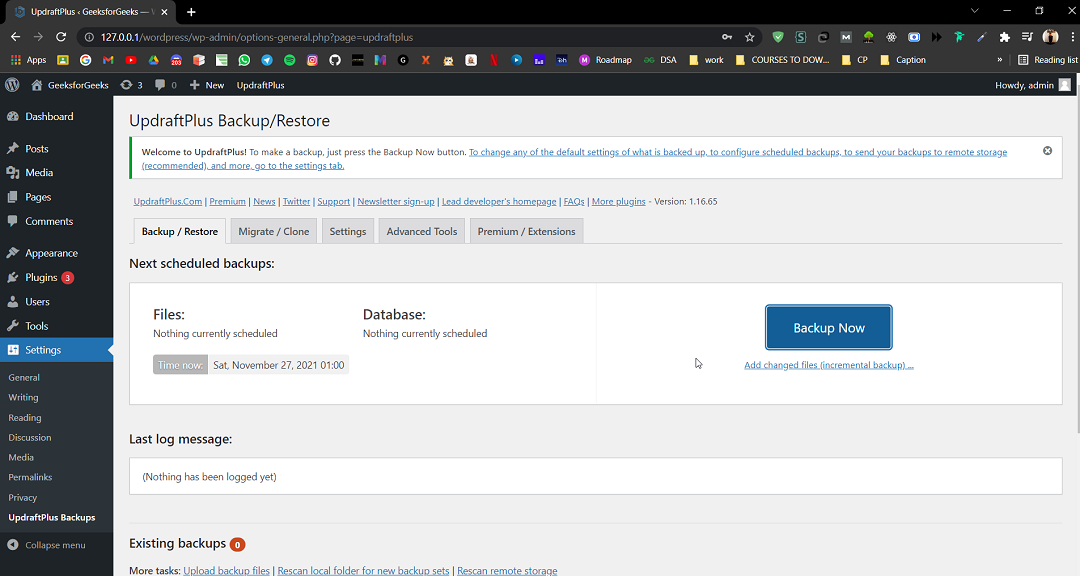 Backup Now
Make sure all the options are selected, then click Backup Now again:
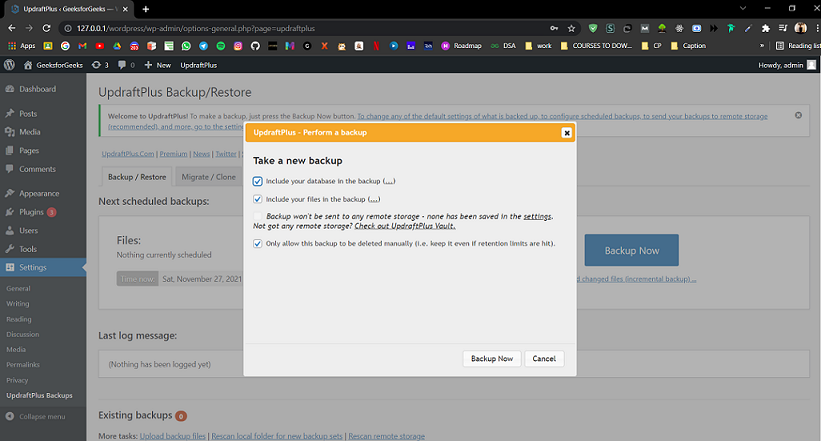 Backup Now
It’ll start taking up backup. The process will take a while according to the size of your website and the server configuration.
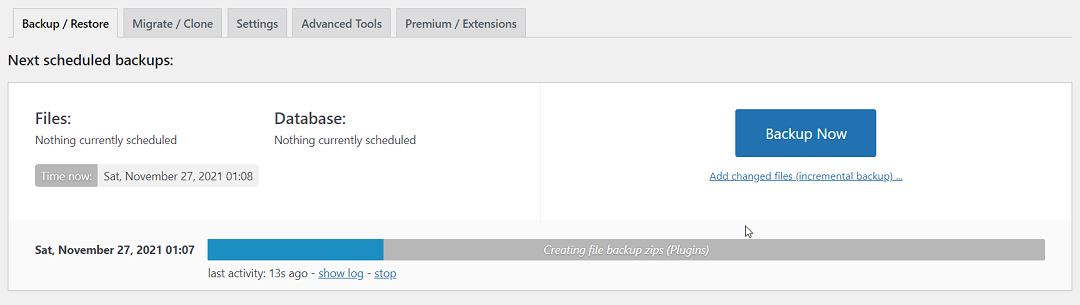 Backup in progress
That’s it; you have now taken a backup successfully of your WordPress website.