Account Type field is set up when creating an Account and could not be edited once saved. However, there are instances when the user needs to edit them.
Once the following accounts have been created and saved, the Account Type field can no longer be edited, even if there are no transactions yet.
- Bank
- Accounts Receivable
- Other Current Assets
- Other Assets
- Accounts Payable
- Other Current Liability
- Long Term Liability Accounts
An enhancement has been filed to address this concern and is documented in Enhancement 22411 Accounts > Ability to edit an account’s type and select any other account type, not just those on the same kind of financial statement (income statement accts, balance sheet accts)
Here are some tips on what you can do:
1. The Account can be set to inactive and the user can create another account.
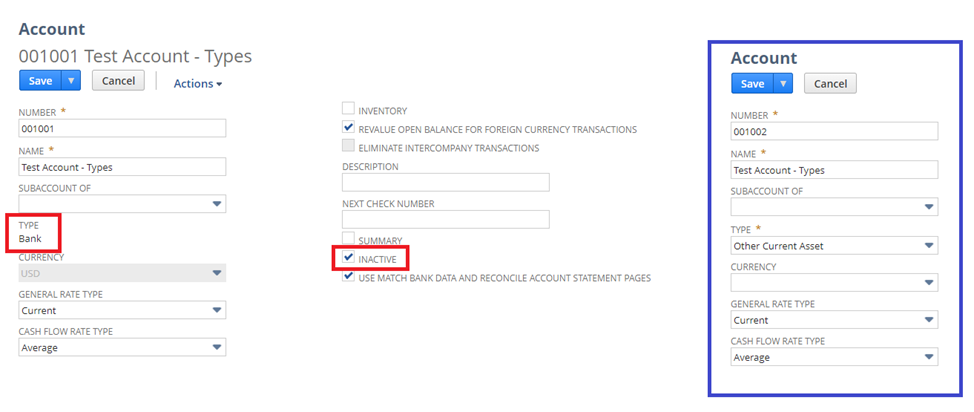
- If the Accounting Preference: Use Account Numbers is enabled, make sure to use a different Account Number when creating a new Account to avoid this error:
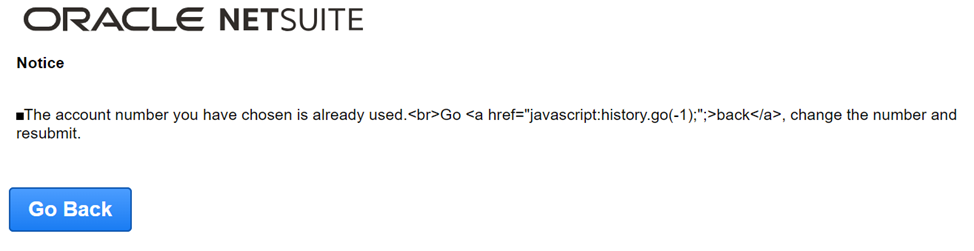
Note: The same error will be received even if the new Account being created has a different Account Type or the Account with the same Account number is already inactive.
2. The user can use a CSV import to transfer the balance of the Account with an incorrect Account type to the new Account created. This can be very useful if it involves multiple transactions.
A. Run a Report to show all the transactions for a particular Account
1. Run Balance Sheet Detail Report
2. Click Customize
3. Go to Edit Columns tab
4. Expand [+]Transactions folder
5. Select Transaction ID
6. Click Save
B. Create the Saved Search
1. Navigate to Reports > Saved Searches > All Saved Searches > New
2. Select Transaction
3. Go to the Criteria tab
4. Under Standard subtab
5. Select Internal ID
a. Select the IDs of the Journal Entry from the report
6. Go to Results tab
7. Make sure that these Columns are present:
- Internal ID
- Account
- Department
- Class
- Location
- Amount (Debit)
- Amount (Credit)
- Memo
8. Click Save & Run
9. Export to Excel and convert to CSV file
C. Open the CSV file and change the incorrect Account to the new Account
Note: Use the Internal ID of the Account to avoid error
D. Import the CSV file you edited
1. Navigate to Setup > Import/Export > Import CSV Records
2. Set the following:
- Import Type = Transactions
- Record Type = Journal Entry
3. Select the CSV file and then click Next
4. Select Update
5. Go to Advanced Options > check Overwrite Sublists checkbock
6. Click Next
7. Map all the fields:
- Internal ID <> Journal Entry : Internal ID
- Account <> Journal Entry Line : Account
- Class <> Journal Entry Line : Class
- Amount (Debit) <> Journal Entry Line : Debit
- Amount (Credit) <> Journal Entry Line : Credit
- Department <> Journal Entry Line : Department
- Name <> Journal Entry Line : Name
- Location <> Journal Entry Line : Location
- Memo <> Journal Entry Line : Memo
8. Click Next
9. Enter the Import Map Name
10. Click Save & Run