Creating and managing epics on a roadmap in Jira allows to visualize high-level project goals, schedule work, and track progress over time. Here’s a step-by-step guide for creating and managing epics on a roadmap in Jira:
1. Accessing the Roadmap
- Open your Jira project and navigate to the Roadmap/Plans tab at the top.
2. Creating Epics on the Roadmap
- Click + Create Epic or Add an Epic (depending on your roadmap view).
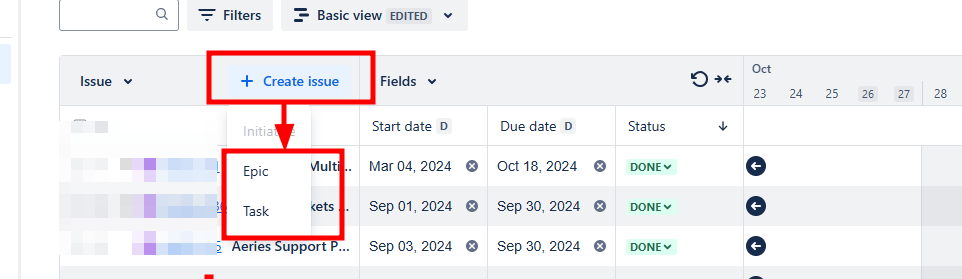
- Enter a name for the epic that represents the large task or project goal.
- Optionally, provide a description or add custom fields to further define the epic’s purpose.
- Set a timeline for the epic by dragging or adjusting its start and end dates on the roadmap.
3. Scheduling Epics
- Use the drag-and-drop feature to adjust the timeline, moving the epic along the calendar view.
- Set start and end dates directly on the epic bar in the roadmap view.
- If using a Scrum board, schedule epics to align with upcoming sprints; for Kanban boards, simply define a loose timeframe.
4. Adding Child Issues to Epics
- Once an epic is created, add child issues (stories, tasks, or sub-tasks) directly within the epic.
- In the roadmap view, click on the epic to open its details, and then select Add an Issue.
- Child issues inherit the timeline of the epic, allowing for better scheduling and tracking.
5. Managing Dependencies
- On Advanced Roadmaps, you can link dependencies to show relationships between epics or tasks.
- In the roadmap view, click on an epic, select Link issue, and choose dependency types (e.g., “blocks” or “is blocked by”).
- Dependencies will display as lines between epics on the roadmap, helping to visualize sequencing and project flow.
6. Tracking Progress and Updating Status
- Each epic displays a progress bar, showing the completion status based on child issues.
- Update the epic’s status to reflect its progress (To Do, In Progress, Done).
- As tasks within the epic are completed, the progress bar fills, providing an at-a-glance view of progress.
7. Customizing Epic Details and Filters
- Customize the epic card to show fields like priority, due date, or team assignments by configuring the Roadmap settings.
- Use filters on the roadmap to display specific epics based on status, timeline, or custom labels.
8. Adjusting the Epic Timeline
- As project timelines change, adjust epic dates directly on the roadmap by clicking and dragging the edges of the epic bar.
- For long-term changes, update the epic’s start and end dates in the epic details panel to ensure accuracy.
9. Deleting or Archiving Epics
- To remove an epic, right-click the epic on the roadmap and select Delete.
- For epics that are no longer relevant but need to be retained for record-keeping, consider marking them as Done or archiving them if your Jira instance has this feature.
10. Tips for Effective Epic Management on the Roadmap
- Regularly update the roadmap to reflect current project timelines and priorities.
- Set dependencies to improve visibility and avoid scheduling conflicts.
- Review progress weekly to ensure each epic aligns with your project’s goals and timelines.