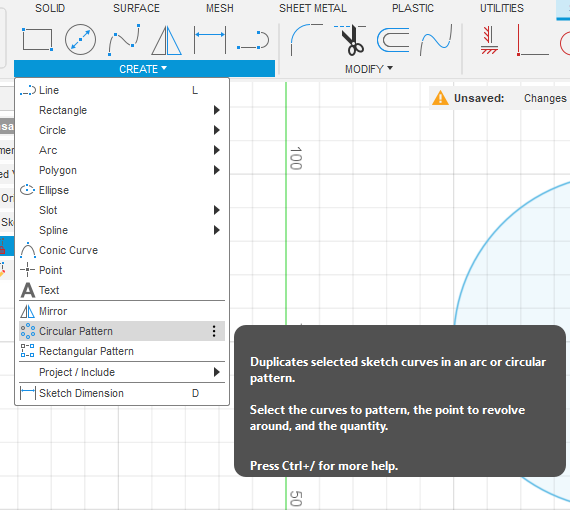
- Circular pattern is used to make duplicates of the selected profile as a circular pattern for along the selected curve
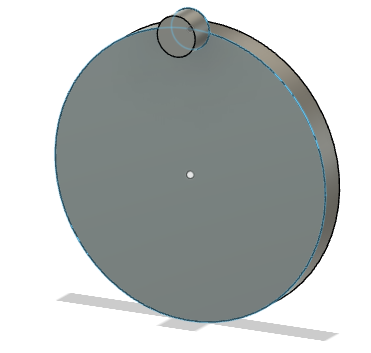
- Where we draw a circle and sketch a small circle at point on its edge
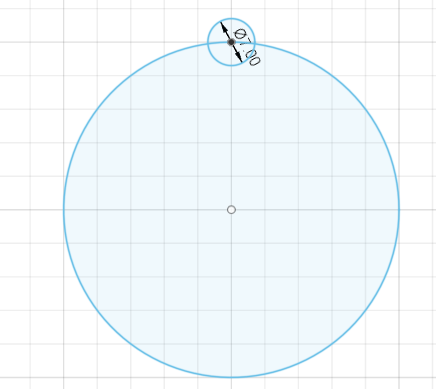
- Now we will make duplicates of the small circle along the big circle
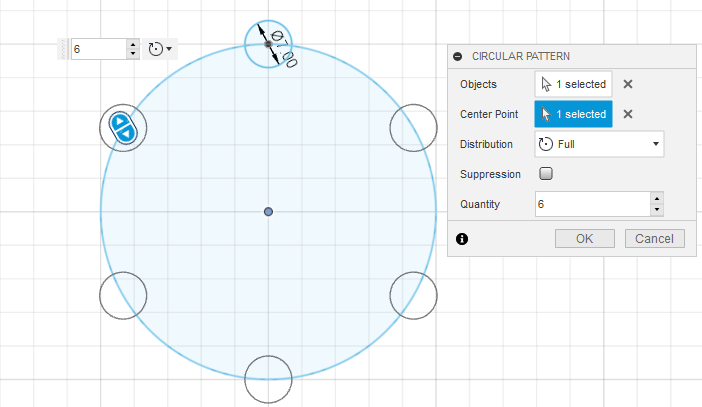
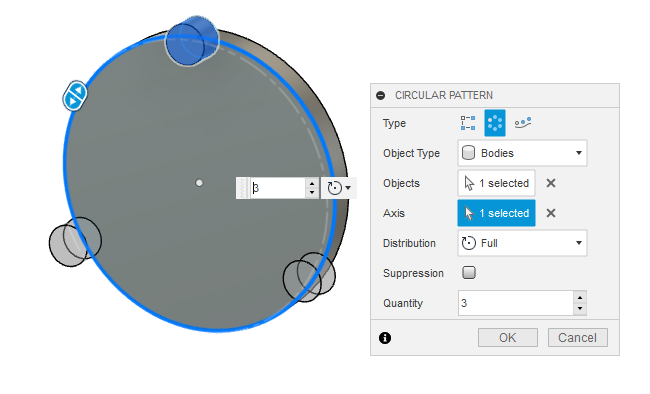
- Select the small circle as the object and Center point that of the big circle
- We can adjust the distribution and quantity depending on personal interest
- Circular pattern can also be applied to bodies
- We will extrude the initial sketch
- Then we select the pattern function from create
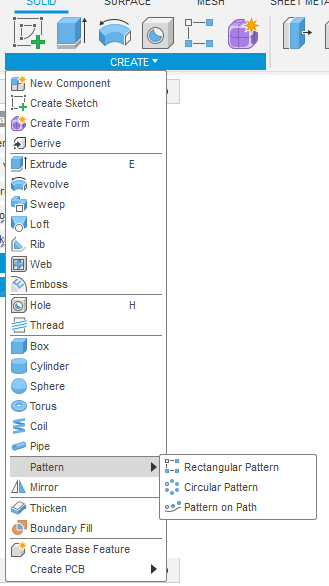
- We can change the object type to our personal preference
- Now the Rectangular Function works in the same fashion, only difference is the pattern will be along a straight line along x and y axis rather that a curve in Circular pattern
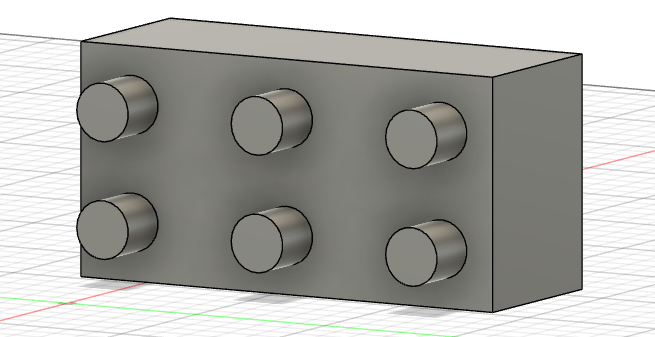
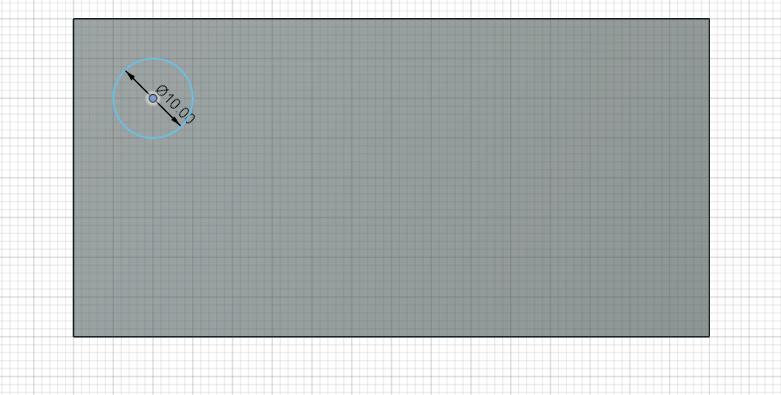
- We will look at an Example, we will add this to the building block we did
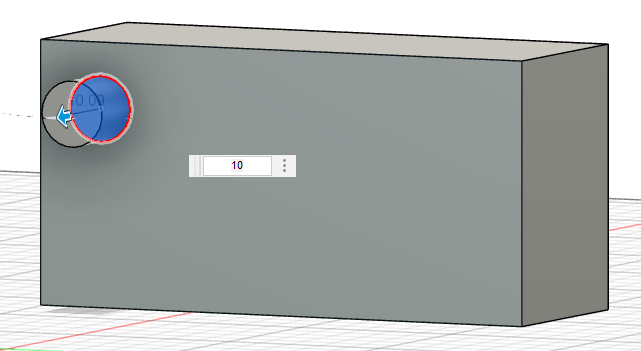
- Lets select the following face of the cuboid and draw a circle of diameter 10mm
- Extrude the circular sketch to 10mm dimension
- Now select the rectangular function
- Select the Features option from the Object type
- After that select the object, here it is the circular sketch that was excluded
- Now set the quantity to 3 in Axis one , which results in the formation of 3 features along that axis and let the distance be 60 mm in only direction
- Set the quantity to 2 in Axis two and distance 20 mm also in one direction
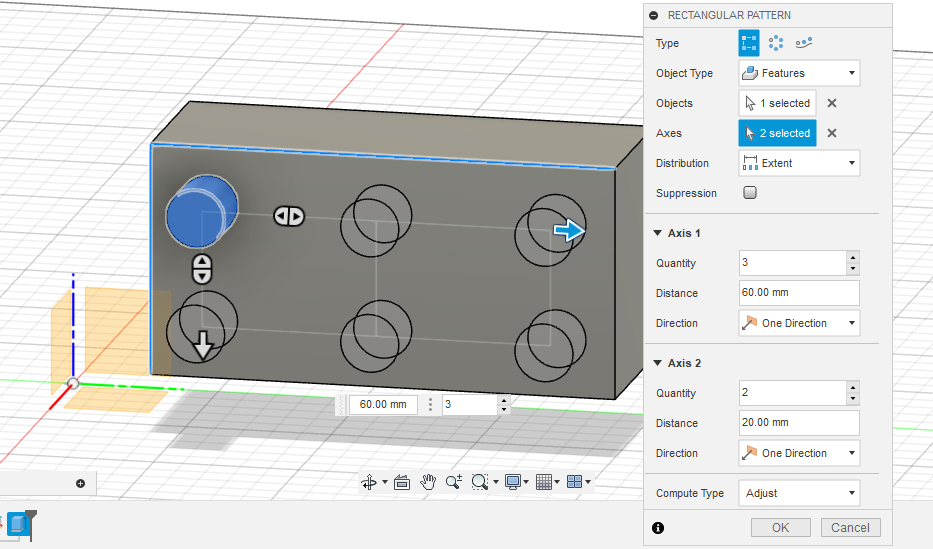
- The arrow button can also be dragged to give distance
- Now click the OK button
- The desired output is formed