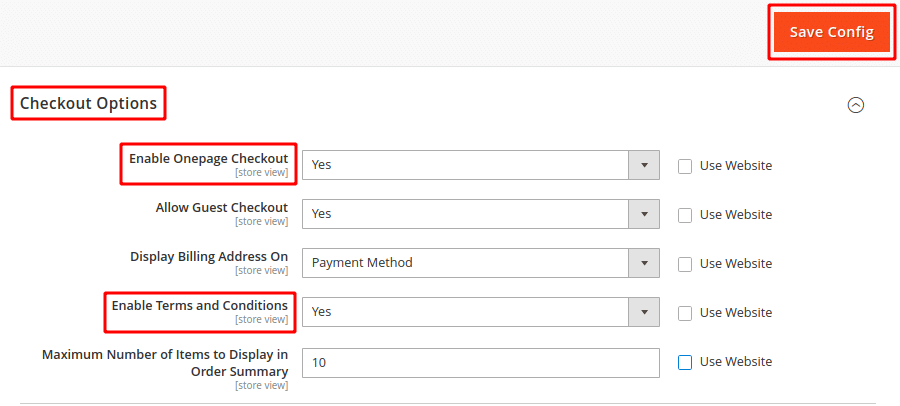
Step 1: Navigate to Stores>Configuration>Sales>Checkout and explore the Checkout Options.
Enable Onepage Checkout: Select the “YES” option for enabling one-step checkout.
Enable Terms and Conditions: Select the “YES” option for enabling Terms and Conditions.
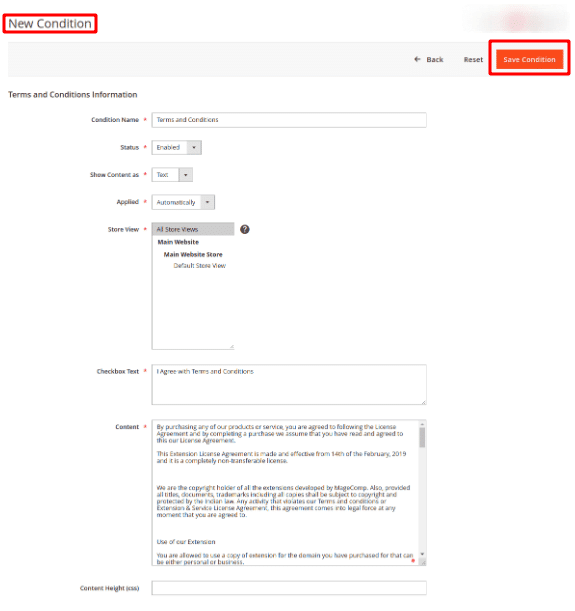
Step 2: Now, navigate to Stores>Terms and Conditions
And tap on the “Add New Condition” option.
Fill out all the following information:
Condition Name: Add the name of the condition for your personal reference.
Status: Change the Status to “Enabled”
Show Content as: Choose your desired option either text or HTML for displaying the content on the frontend.
Applied: Choose your desired option automatically or manually for applying terms and conditions.
Store View: Choose your store view for the terms and conditions that will be used.
Checkbox Text: Add your desired text that will be displayed for the terms and conditions link
Content: Add your whole terms and conditions of the store.
Content Height (CSS): Add the Content Height for deciding the height of the text box where your terms and condition will be displayed while checkout in pixels.
Step 3: Save the Config.
Step 4: After implementing the above steps you will be able to view the terms and conditions in the checkout page of your store (Frontend).